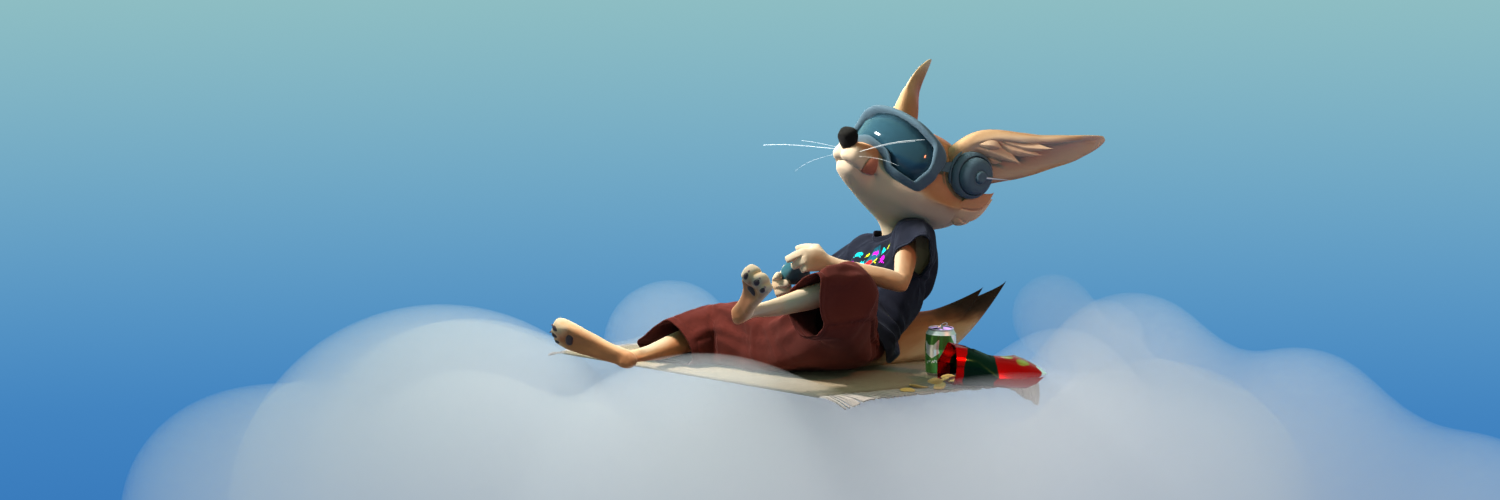
Tiny game #2: Neat-O-Droid

This game took about two weeks from start to finish. “Two games a month” instead of “a game a week” still doesn’t sound too bad, right?

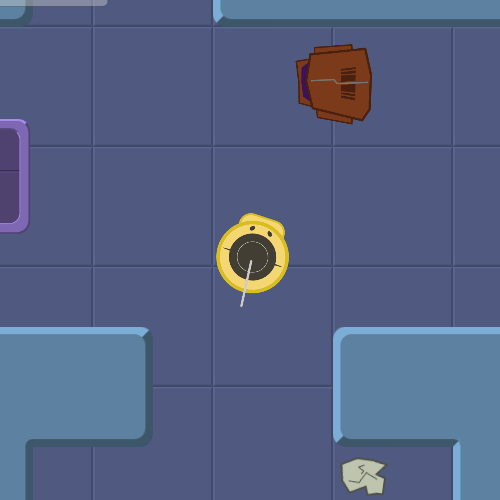
The gameplay is somewhat inspired by the good old Paradroid C64 game, with some Pacman mechanics sprinkled in (gobble up the pellets, avoid and kill the monsters, clear the maze, you name it).

click on the image to open the game in a new window – webgl-enabled browser required!

The most interesting programming challenge was the map generator- I spent the bigger part of the first week on it. The levels in the game are fairly small, but the algorithm can generate arbitrarily big maps, which I hope will come in handy in future games. The general structure is a nested set of rectangular rooms and hallways, such as this:

a bigger maze

The algorithm is based on a simple binary space partitioning scheme, essentially going through these steps:

  • divide an initial rectangle with a few wide separators (the hallways)
  • recursively divide the parts with thinner separators (rooms separated by walls)
  • identify all separator spans shared by two rooms (potential doors)
  • create a random path covering all rooms (this will be the set of required doors)
  • randomly delete a subset of the remaining doors

This way, all rooms are guaranteed to be reachable with an adjustable overall amount of doors.

One major lesson: With the number of moving parts, the parameters that have to be balanced explodes. Even in a simple games as this, tweaking things like

  • size and complexity of the map
  • amount of initially distributed junk
  • player speed and fire rate
  • enemy speed and “litter rate”
  • rate of enemies respawning
  • speed of “junk unloading” at the chute
  • number of junk items the player can carry

do not only make the difference between easy and hard, but also change how the game needs to be played to win.

Tiny game #1: Elsie in the woods

Thinking more about how to unify my interests in programming and art, I’ve been turning to games again – it’s been a while! After spending nearly two months on a prototype platformer game, I had to realize

  • it would take a lot longer to properly finish the game with nice artwork and really smooth gameplay
  • even though developing the game was a lot of fun, I really don’t have that much experience with game design, so ultimately it wouldn’t even have been all that interesting to play.

Inspired by a video on “a game a week”, I decided to abandon the big project and go for way smaller, focused mini games that could actually be implemented in a short time. This is the first of them – situated in what used to be just the intro of my original larger game.

My main goal here was to have a “complete” game – with a beginning, middle, and end, revolving around a simple core game mechanic.

click on the image to open the game in a new window – webgl-enabled browser required!

Despite its simplicity, there were quite a few interesting technical bits here to experiment with:

  • importing the rigged player model from Blender into Unity
  • an outline shader for the player
  • some postprocess bloom in the background
  • Cinemachine virtual camera controls
  • a particle system for the exploding mushrooms
  • 2d physics

Interactive Illustrations

This is an idea I’ve been toying with for quite some time. Letting programming and painting meet somewhere in the neighborhood of illustration / animation / motion graphics / creative coding / games. There’s not much of a concept yet, it will take some trial and error, but a few central ideas are:

  • each illustration should work as a stand-alone still image
  • I want to “add magic” by animating things (the moving pictures in Harry Potter would be an ideal)
  • some interactivity should be there, otherwise it would just be a video

So here’s a first demo, where I explored how to do something like this in a web browser. This is from a painting I recently developed from an old inktober sketch, titled “Sugar Raid” for obvious reasons 🙂

Click on the image to open the interactive version in a new window:

Sugar Raid!

A few technical details

The illustration itself was done in Procreate (the iPad painting app), where each moving object resides on its own layer. The implementation of the demo required:

  • exporting the layers as image files
  • cutting and resizing the layer images, also generating a Javascript snippet with size and offset information for each layer
  • writing Javascript code (using the quite awesome three.js library) to render all the layers – essentially another implementation of how a painting app composes the layers. I use custom shaders to support blend modes such as screen, overlay, etc.
  • animating layers – pretty straightforward in three.js
  • as a boon, I added a particle system simulation (the exploding sugar cube)
  • the painful part: testing in various browsers on the desktop and smart phones

Creating videos with Processing

Other than interactive live applications, Processing can can also be used to generate cool animations from frame sequences! It‘s not so hard, but you need to consider a few things.

Randomness

If your animation uses random values, be aware that random() creates different results each time the program is run. To make sure you always get the same good-looking frame sequence of your choice, use randomSeed().

Recording the frame sequence

Set resolution and frame rate in setup():

void setup()
{
size(640, 640);
frameRate(30);
}

The frame rate doesn’t have to be the same as in the final video, you can speed up or slow down the sequence when creating the video file.

To save the first 100 animation frames, include this snippet:

if (frameCount <= 100)
{
saveFrame(“frames-###.jpg”);
print(“.”);
}

Video file creation

On a Mac, this is easy – you can use the built-in Quicktime player tool to create a video from your image sequence.

On a PC, a good option is ffmpeg. One way to install is as part of the ImageMagick suite, which is a very handy collection of image processing tools.

It’s a command line tool with a billion options. A minimal command to generate an MP4 file from an image sequence looks like this:

ffmpeg -framerate 30 -i frames-%03d.jpg -c h264 output.mp4

Video format considerations

Depending on how you want to use your video, you’ll want to make sure format, frame rate, and image size are appropriate.

For instance, to post a video on instagram, the recommendations are:

  • Aspect 1.9 to 1:1
  • a minimum of 600×315, resp 600×600 px
  • maximum width 1080 px (anything bigger is downscaled)
  • 3 sec minimum duration, 60 sec max.
  • 30 fps maximum frame rate
  • H.264 or VP8 codecs

Happy recording!

Resonance

Ever since I started drawing, trying to understand how ‘real artists’ work and think, I was often surprised to learn about something I knew from my own profession! Even between two activities so apparently far apart as pure logic and abstract thinking on one side and making colorful marks with emotional impact on the other, one can find resonance.

Here’s the shortlist of some of my obvious and not-so-obvious findings:

Problem solving

Programming is obviously a problem solving activity. It was really news to me how artists would view much of their work as problem solving, though. It may be a concept artist, who is given the task of designing a vehicle within given constraints until tomorrow, or a painter figuring out the perfect composition, shape language, lighting, color palette…

I think the analogy carries pretty far. To solve your problems, you can work methodically top/down (resp. rough to detailed), or employ trial and error. If you didn’t solve your fundamental problems properly early on, they will come and bite you later (I haven’t heard anyone talking about a ‘bug-ridden picture’ so far, but they certainly exist 🙂 ).

Attention to detail

This seems quite obvious. What is a single misplaced character breaking a program, can be one wrong line ruining your sketch. And you should absolutely know what every element in your program / picture is doing to help achieve its goal. Useless clutter, anyone?

Teams of introverts

It seems both programmers and artists generally prefer to be left alone to work on their piece for endless hours. In professional reality, it is important, though, to communicate a lot with others, as projects get bigger and bigger all the time. Feedback is also a topic here (code reviews, art critique).

Life-long learning

To me, at least, doing something that you’ve never done before is the essence of software development, always expanding your mental toolbox, so you can tackle bigger tasks the next time. There is no finish line, where you have learned everything there is and will be. The same seems to be true for passionate artists, as far as I can tell.

Creative bursts and discipline

In coding, painting, and I guess all creative endeauvours, there are spurts of energy and inspiration, followed by long stretches of filling in the gaps, where great discipline is required to get through the project. Understanding how much making art also requires discipline and quite simply showing up and getting to work helped me a great deal. You’re not a failed artist, if you aren’t inspired every day. You’re not a bad developer, if you can’t produce brilliant code like a machine.

Composition and architecture

As much as a good initial composition can decide over success or failure of a picture, the software architecture of your system can determine the fate of your project. There are functional as well as pleasing designs, concepts such as symmetry and readability in both worlds.

Looks too easy

From personal experience, I know the complete inability of, say, upper management in some companies, to understand why all of this software business is taking so long, when certainly it can’t be that complicated and the computer is doing the work, after all. And if things seem easy and fast, nobody can see it’s the result of years of training and countless hours of practice. Then again, you’ll hear ‘oh, I could never do that’ very, very often 🙂

I’ve heard the same, anecdotally, from working artists.

Style

Obvious in the arts, but there’s personal style in programming as well! Even if everyone in your team is following the same coding guidelines (where to put the braces, etc.), chances are you’ll be able to recognize who in your team wrote a piece of code after a while. Also, you’ll find people able to adapt their style to fit into whatever project they’re working on, while others value their freedom of expression higher than anything else – they might be brilliant, but substantially harder to work with.

I could elaborate on some of these topics, but this is essentially what I found so far, Anything missing? Probably 🙂

It might be worth writing about fundamental differences between making a drawing and making software, too. Have to think a bit about that.

Clara & Pong chapter 4 is done

page 72!

A major milestone: chapter four of my comic “Clara & Pong” is done – 72 pages into the storyline. If you can read German, please head over to clarapong.com to check it out!

Before moving on to drawing the final chapter, I thought it might be interesting to share some details about my process. Since this is – especially for a relative beginner like me – a massive project, with around 100 pages, running already for more than two years – it’s pretty important to me to have a smooth workflow.

Story pipeline

It all starts with the script in text form. The major lesson I learned: Know where you’re going! I did have the major story points in mind from the beginning, and that helped me tremendously in keeping the story together. Mind you, I didn’t have all details fleshed out before starting to draw, but I could always be certain I wouldn’t draw myself into a corner.

I guess the “Right Way” to do this would have been:

  • write the script
  • draw the storyboard
  • layout the pages
  • render the pages

In my case, it turned out to work best incrementally, in overlapping “pipeline stages” with three tracks:

  • detailed script, chapter by chapter
  • storyboard, scene by scene, feeding from finished script parts
  • layout, page by page, feeding from finished storyboard panels

So, I finished the script first, the storyboard later (just a few weeks ago), and by now am conveniently pulling off panels from the storyboard, assembling pages (obviously, I’ll make corrections and put in new ideas all the time, but so far I never had to go back and change major parts of the story).

The storyboard

might look messy to you, but really provides great overview

The only non-digital part of the pipeline 🙂 I draw my storyboard on big sheets of paper, in a 6×6 grid. The drawings are just barely enough to show what’s happening in each panel, so I get the sequence down. (The picture only shows chapters 3 to 5 – before, I didn’t have a consistent approach.)

Layout & scribbles

Picking panels from the storyboard sheet, I assemble the layout for the next page. Usually I try to end each page with a transition into the next page – a smaller or larger cliffhanger, if you will. For layout and scribbling, I use my iPad Pro, moving stuff around and drawing in layers until I’m happy enough to move on to inking. Important: Make sure there’s enough space for the text!

Inking & text

layer setup

Next, I transfer the scribble to the PC (a Mac, in my case), where I import it into ClipStudio Paint, as a background image layer. My template already has two vector layers for foreground and background lines. Dividing the page up into panels gives me separate folders for each panel. The image on the left shows the layer setup of the finished page.

I love drawing in vectors, because it allows for easy corrections of shapes. When I’m done, I usually go over all the lines and adjust line weights to keep them consistent across the page.

After adding text and drawing the balloons around it, I move on to coloring the page.

Coloring

Comic palette

Here, I usually work on just one foreground and one background color layer for the whole page. I select all the frame folders, and choose “combine”, which results in a new folder masking out all the frame border areas of the page. I place my two color layers in that folder.

My coloring style is very simple, so I typically can just fill areas with flat colors. I restrict myself to a fixed color palette – which I did carefully extend over the first few chapters, but has now become very stable. Most importantly, it contains bright and dark values in warm and cool grays, plus the essential colors for my characters. A palette like this is really helpful for keeping things consistent and efficient.

… and done

Upload the page to the my website, announce it on FB, and that’s it, really. It’s all working pretty smooth and painless by now, so I can keep my pace of doing one page a week. With the completed storyboard, I now know how many pages are lying ahead, so projections show it’s quite possible to finish by the end of the year. Yay!

Site move (again)

So, I moved my existing Joomla website over to wordpress. Which hopefully makes things easier to maintain for me in the future. Will be posting new content RSN!

Pocket Observatory at Make Munich

Pocket Observatory at Make Munich! Slipped in at the very last minute, and probably had the tiniest desk in the hall. But the response was great, I am still totally overwhelmed by the positive response and all the enthusiasm. A huge THANK YOU to everyone who came over to check out the app on Gear VR! Nice people, great conversations, useful feedback, and even more ideas for future development. After two days working the desk non-stop (together with my wonderful GF) I feel a little spent but very inspired 🙂

Pocket Observatory released for Gear VR

On 3/16, Pocket Observatory has been released to the Oculus App Store for Gear VR! It has taken a lot longer than expected, but in the end, the additional iterations and feedback have improved the product tremendously. Of course, this is only version 1 – there are tons of additions on my list already, and I am open to suggestions 🙂

Here’s a link to the product page in the store.