
Art
-
Creating videos with Processing
Other than interactive live applications, Processing can can also be used to generate cool animations from frame sequences! It‘s not so hard, but you need to consider a few things. Randomness If your animation uses random values, be aware that random() creates different results each time the program is run. To make sure you always get the same good-looking frame sequence of your choice, use randomSeed(). Recording the frame sequence…
-
Red Panda Day
Today is International Red Panda Day! Since my comic‘s main character is (something similar to) a red panda, this is an important day to me! Here‘s a quick little sketch on the occasion: sleep tight, little panda!
-
Resonance
Ever since I started drawing, trying to understand how ‘real artists’ work and think, I was often surprised to learn about something I knew from my own profession! Even between two activities so apparently far apart as pure logic and abstract thinking on one side and making colorful marks with emotional impact on the other, one can find resonance. Here’s the shortlist of some of my obvious and not-so-obvious findings:…
-
Clara & Pong chapter 4 is done
page 72! A major milestone: chapter four of my comic “Clara & Pong” is done – 72 pages into the storyline. If you can read German, please head over to clarapong.com to check it out! Before moving on to drawing the final chapter, I thought it might be interesting to share some details about my process. Since this is – especially for a relative beginner like me – a massive…
-
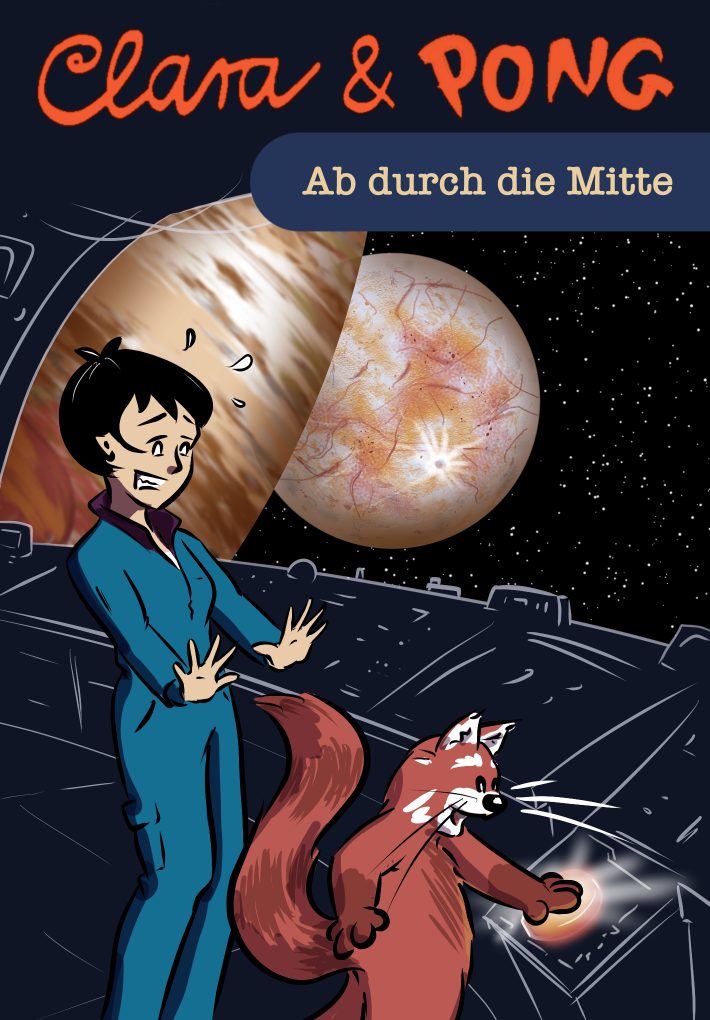
Clara & Pong
In 2016, I started my own web comic revolving around a girl named Clara and her best friend Pong, a red panda. These were just short weekly strips, which I initially inked by hand, scanned in, and colored digitally. Here’s one of the first episodes, where Pong receives his name: After about a year, it was time to start a bigger story about my two heroes! I didn’t realize how…
-
Lightbox Trace 2.0 with In-App feature
I recently published version 2.0 of my iPad App Lightbox Trace, introducing a filter panel as an optional In-App feature. This really comes in handy, when your sketches don’t have enough contrast or you want to desaturate a colored image before tracing. Check it out! Unfortunately, I ran into a problem with enabling the In-App purchase, so it just didn’t work for about a week. If you tried and got…
-
New iOS app: Lightbox Trace
I’m currently spending a lot of time drawing on my iPad Pro, and needed a way to transfer my digital sketches to drawing paper. Essentially, a lightbox with the ability to display an image. Since I still had my old first-generation iPad lying around, I developed a simple little app to put it to use again: Lightbox trace. Load an image from photos or the clipboardScale, position, rotate as desiredlock…