Welcome!
Hey, thanks for visiting! I’m a seasoned software engineer with a passion for art – currently busying myself as a solo game developer, based in beautiful Munich, Germany. I also put my coding and art skills to use in the occasional freelance project. While my primary focus is on CG algorithms and 3D character art, I enjoy drawing in two dimensions, too!
Throughout my career in software engineering and CG research, I have always cared deeply about visuals and interaction, along with being a knowledge-hungry problem solver at heart.
I enjoy working in teams, too! If you need an interdisciplinary mind, somewhere along the intersection of art, science, and programming, let’s talk!
Algorithms, Art & Science
Over the years, I have worked on a variety of topics, in desktop, mobile, VR, and web environments. Here are some of my recent favorite projects, big and small:
-
- Released
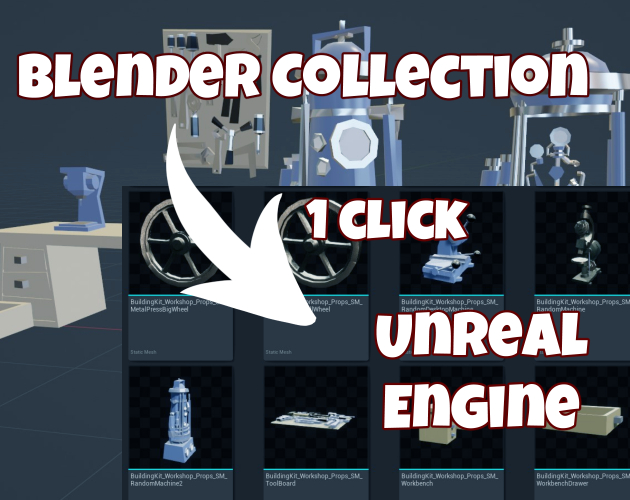
- Blender add-on (Python)
-
- Released
- Browser app (JavaScript, Three.js)
- 3D user interface
- Used in teaching
-
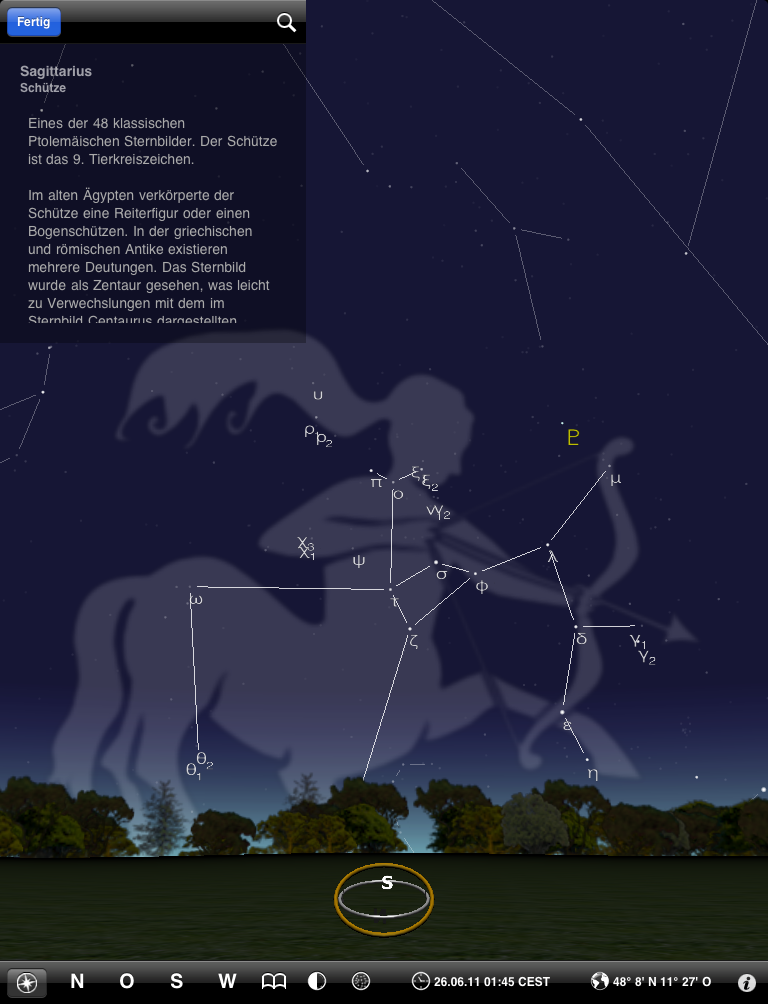
- Released
- Objective-C, OpenGL ES, GLSL
- iOS astronomy app
-
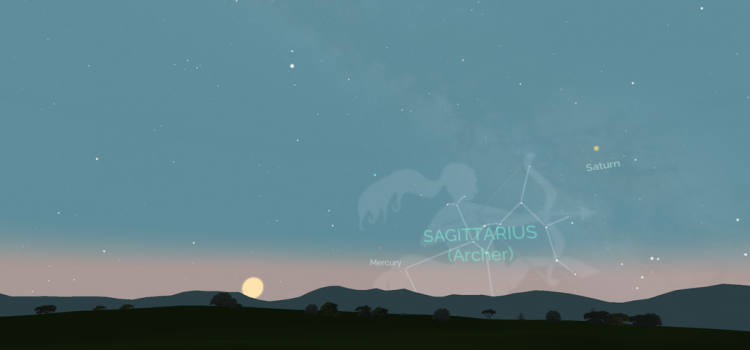
- Released
- Unity / C#
- VR astronomy app
-
- Working prototype
- C++ / Qt / OpenGL / GLSL
- Fluid dynamics
-
- Research prototype
- C++ / Qt / OpenGL / GLSL
- Volume visualization
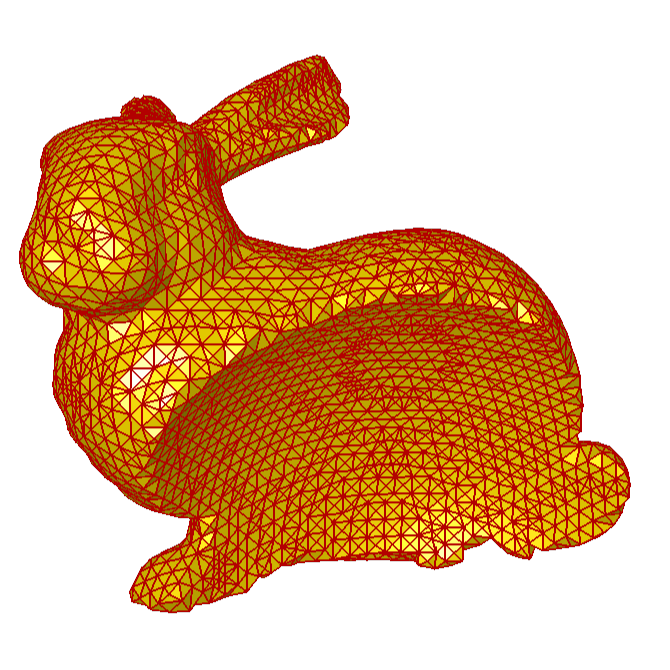
- Geometry processing

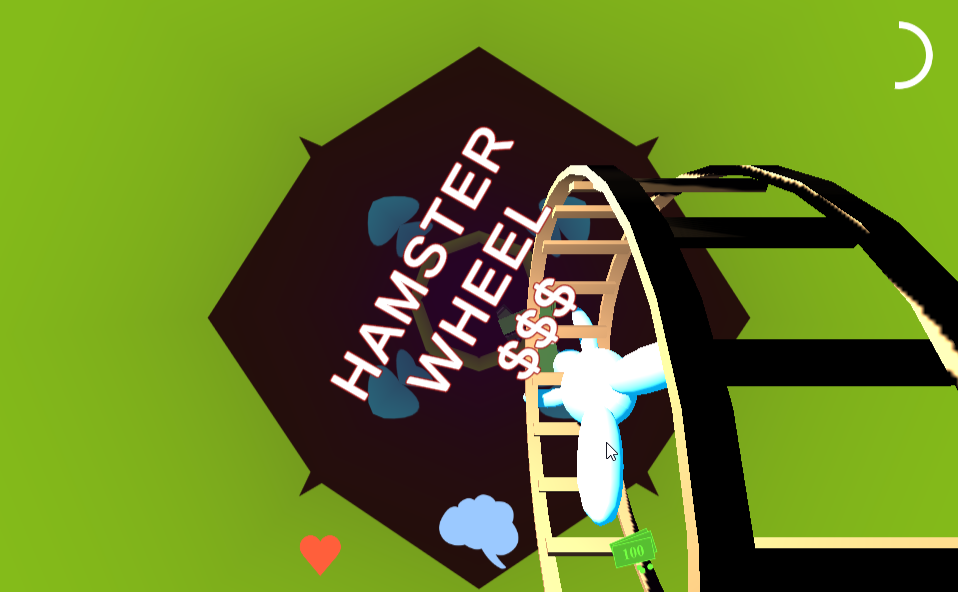
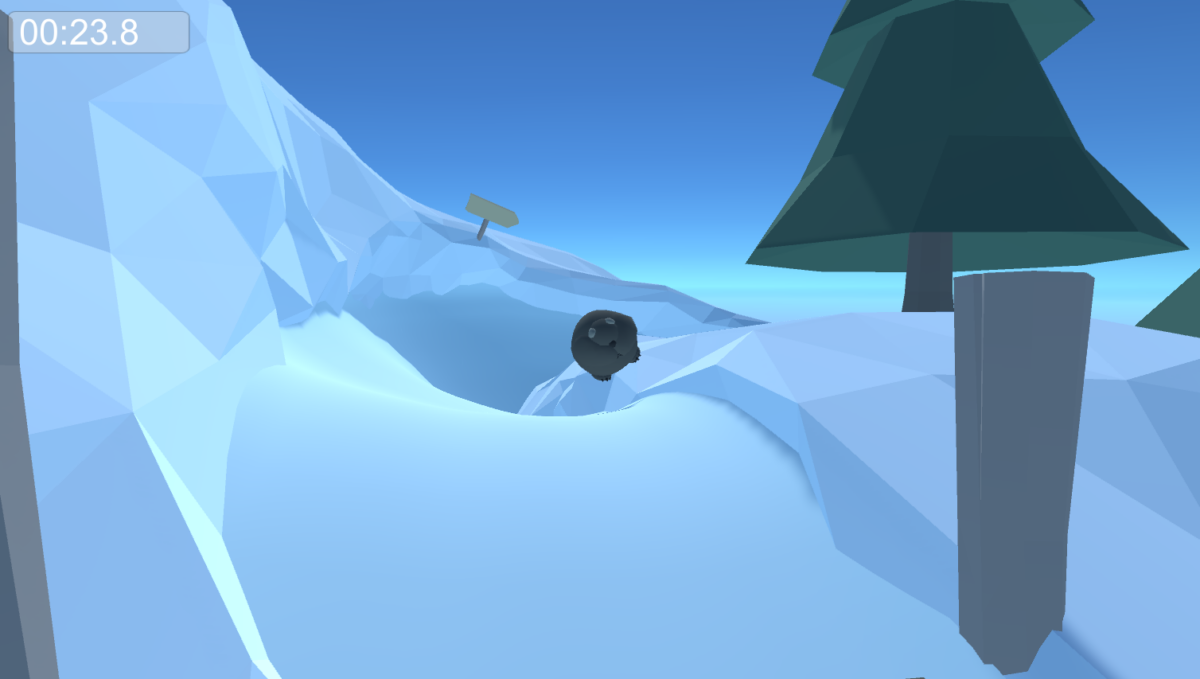
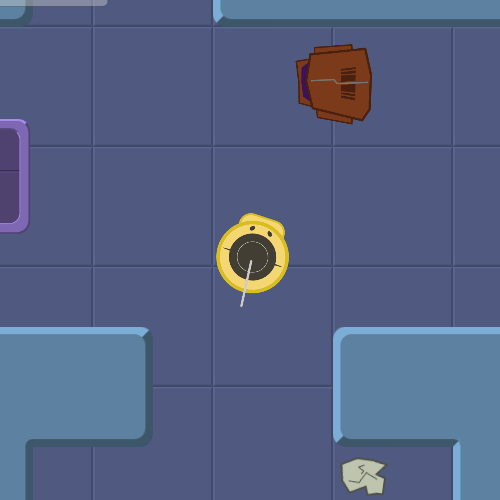
Game Projects
Game development allows me to combine technical and creative passions, research and making things: from designing mechanics and narrative, over visuals, to programming – always more to learn, endless challenges and rewards! Besides making games and useful tools, I also started publishing tutorials on my YouTube channel.
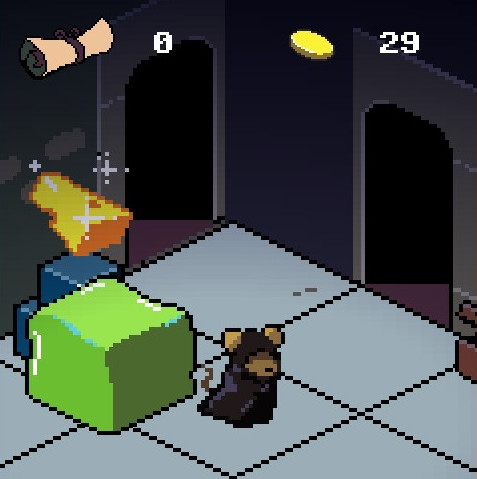
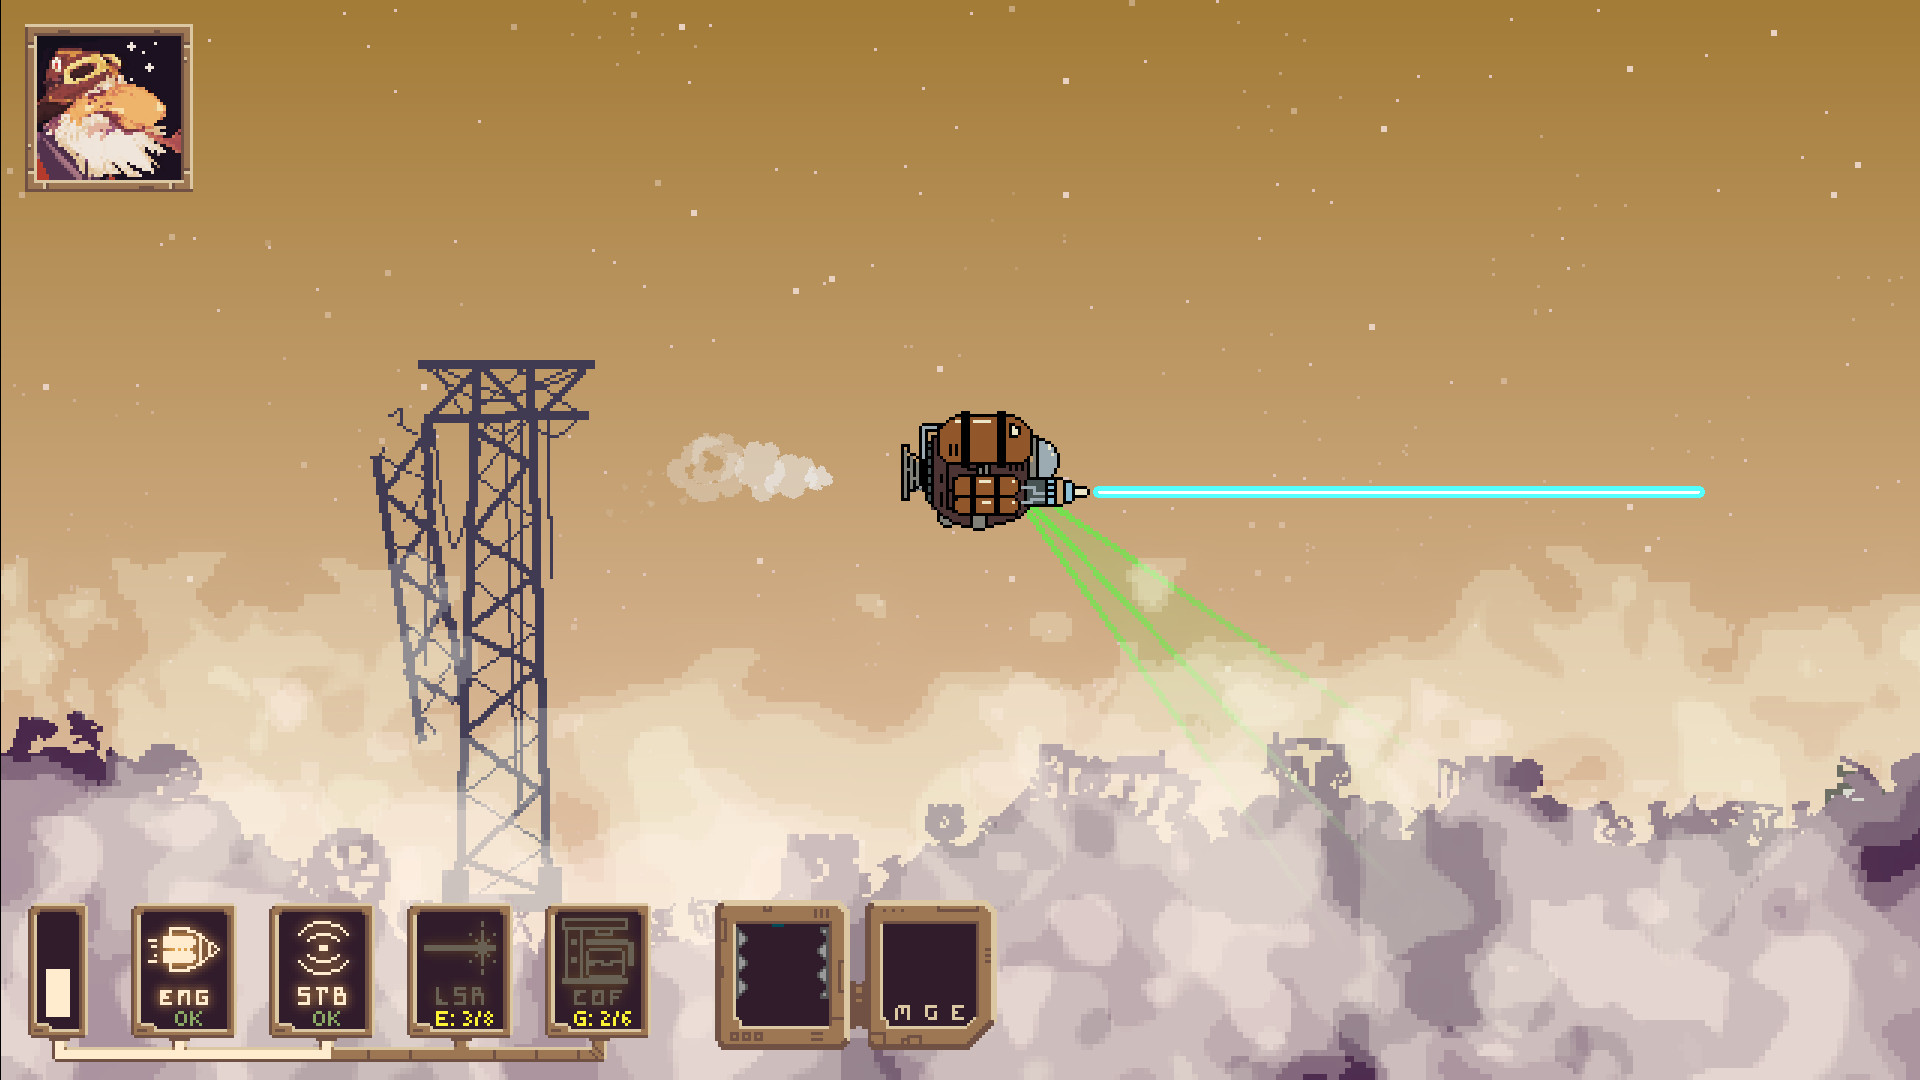
These are larger and smaller game projects, created over the past few years since 2022. I have explored a variety of game engines (Unity, UE5, Godot), 2D and 3D styles, as well as narrative and action-oriented game designs. Select a thumbnail title to get detailed information about each project.
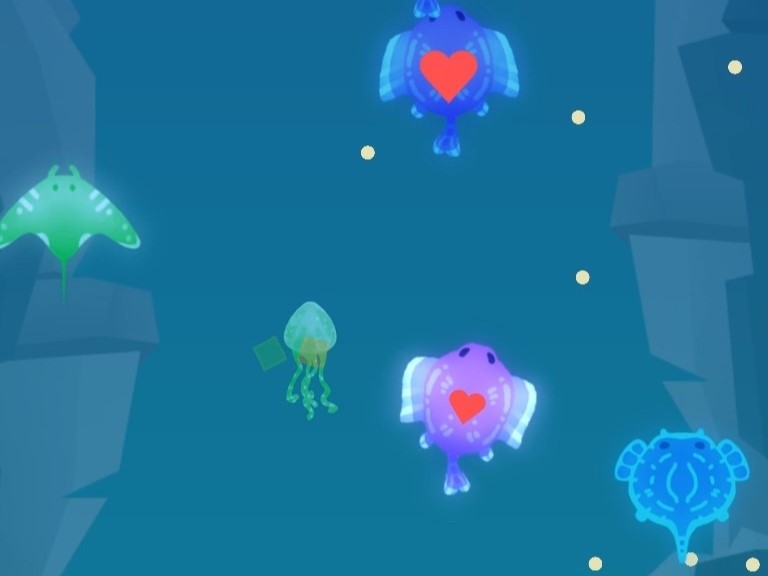
-
- PLayable prototype
- Godot 4 / GDScript
- 2D pixel art
- Isometric tile map
-
- PLayable prototype
- Godot 4 / GDScript
- 2D pixel art
- Procedural tile map generation
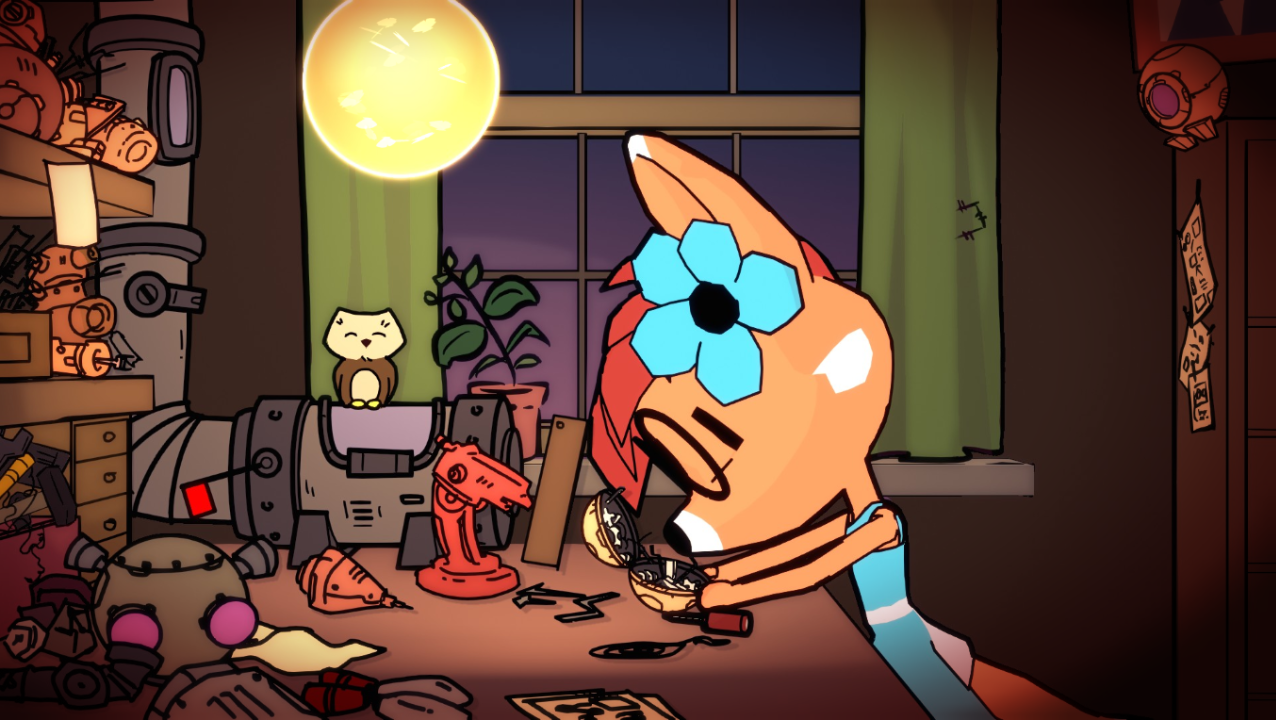
-
- In active development
- Godot 4 / GDScript
- 2D and 3D
- Blender & Grease Pencil
- Procedural map generation
- Custom narrative backend
-
- Released
- Godot 4 / GDScript
- 2D
- Browser game
- Desktop & mobile
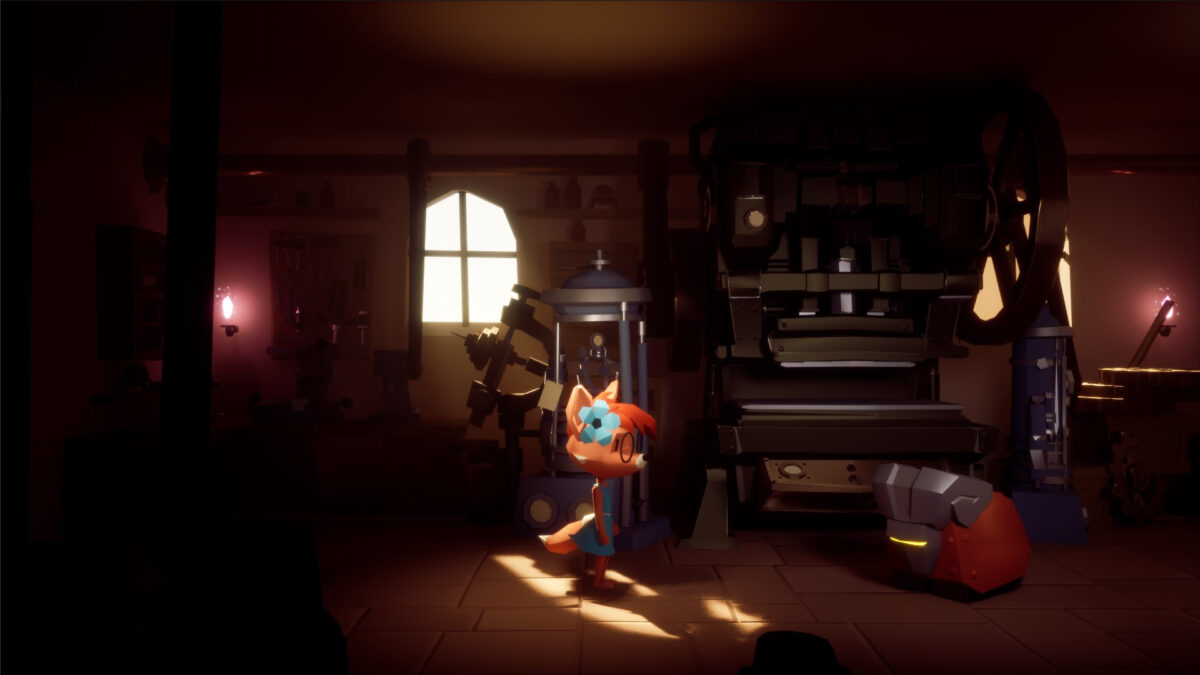
-
- Playable Demo
- UE5 / C++ / Blueprint
- 3D
- Blender / Grease Pencil
- Low poly stylized look
- Niagara particles
- Lua-based story backend
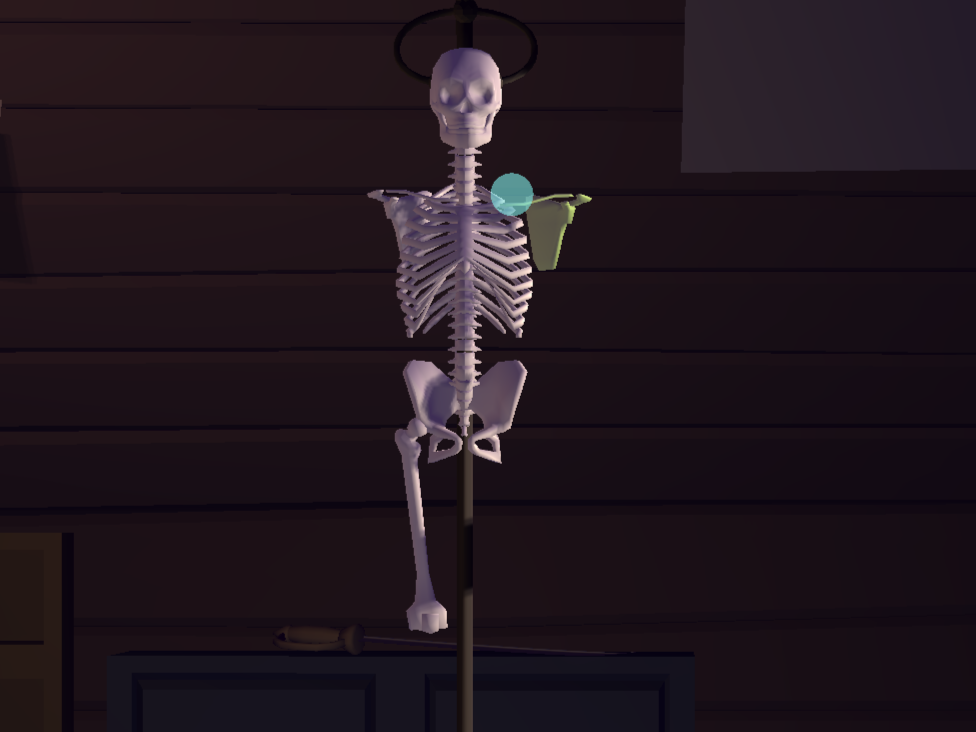
-
- Released
- Unity / C#
- 3D
- Educational browser game
- Accurate, low poly human skeleton
-
- Playable prototype (browser)
- Unity / C#
- 3D
- Game design study
-
- Released
- Unity / C#
- 3D
- Blender
- Rigid body physics
-
- Playable prototype (browser)
- Unity / C#
- 2D
- Procedural maze generator
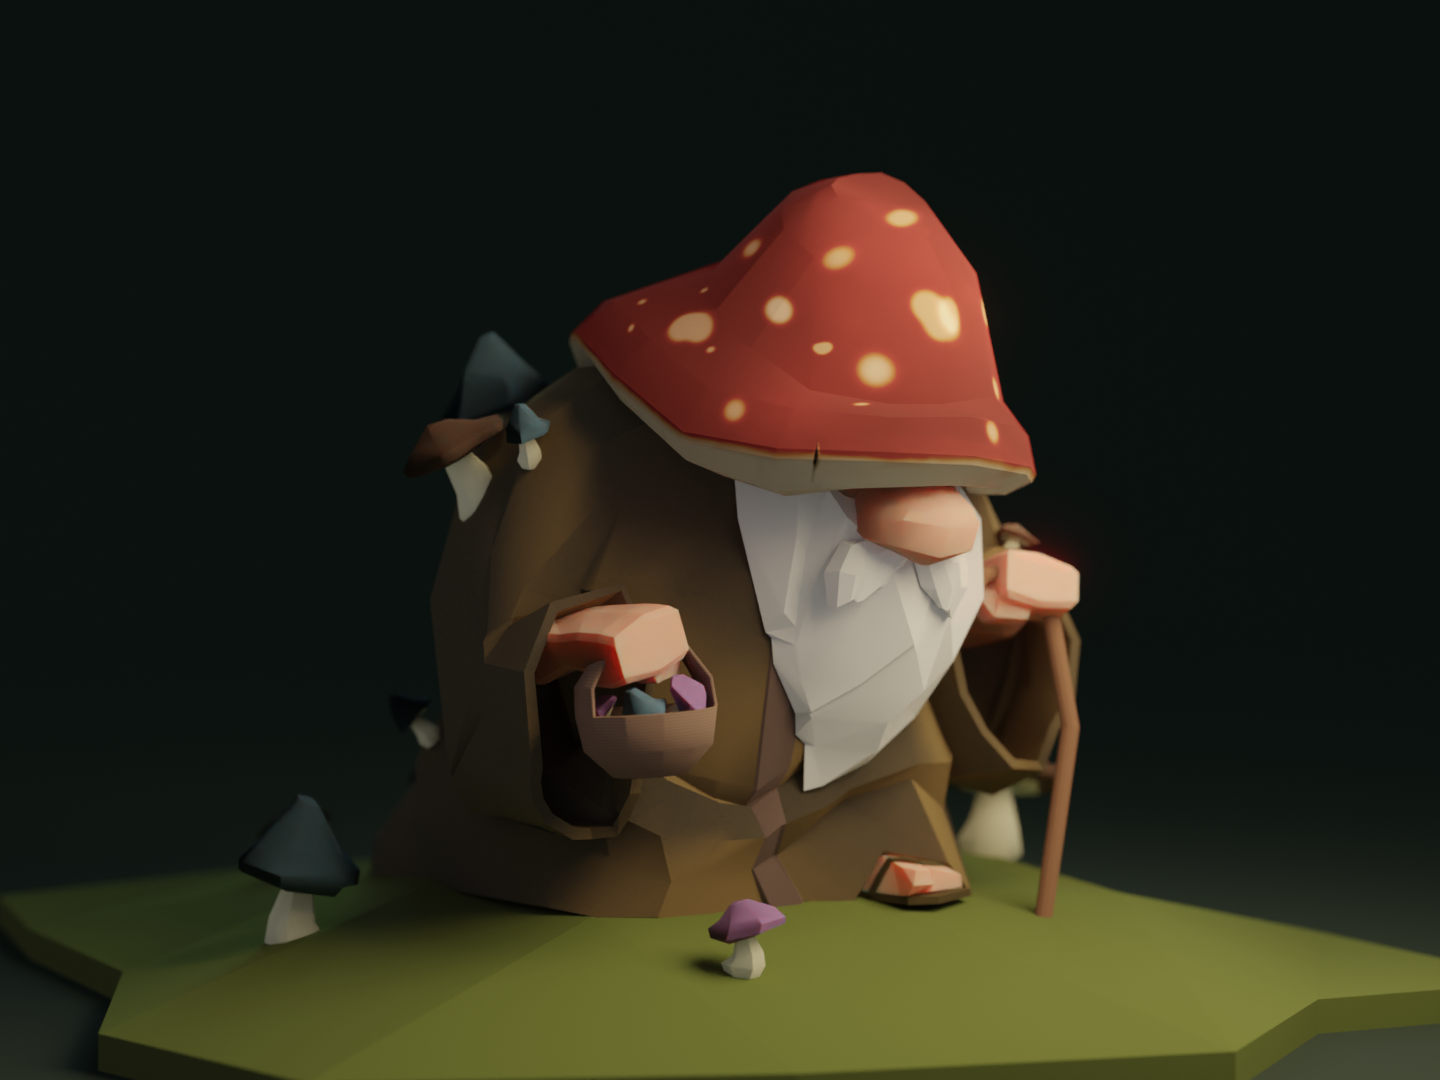
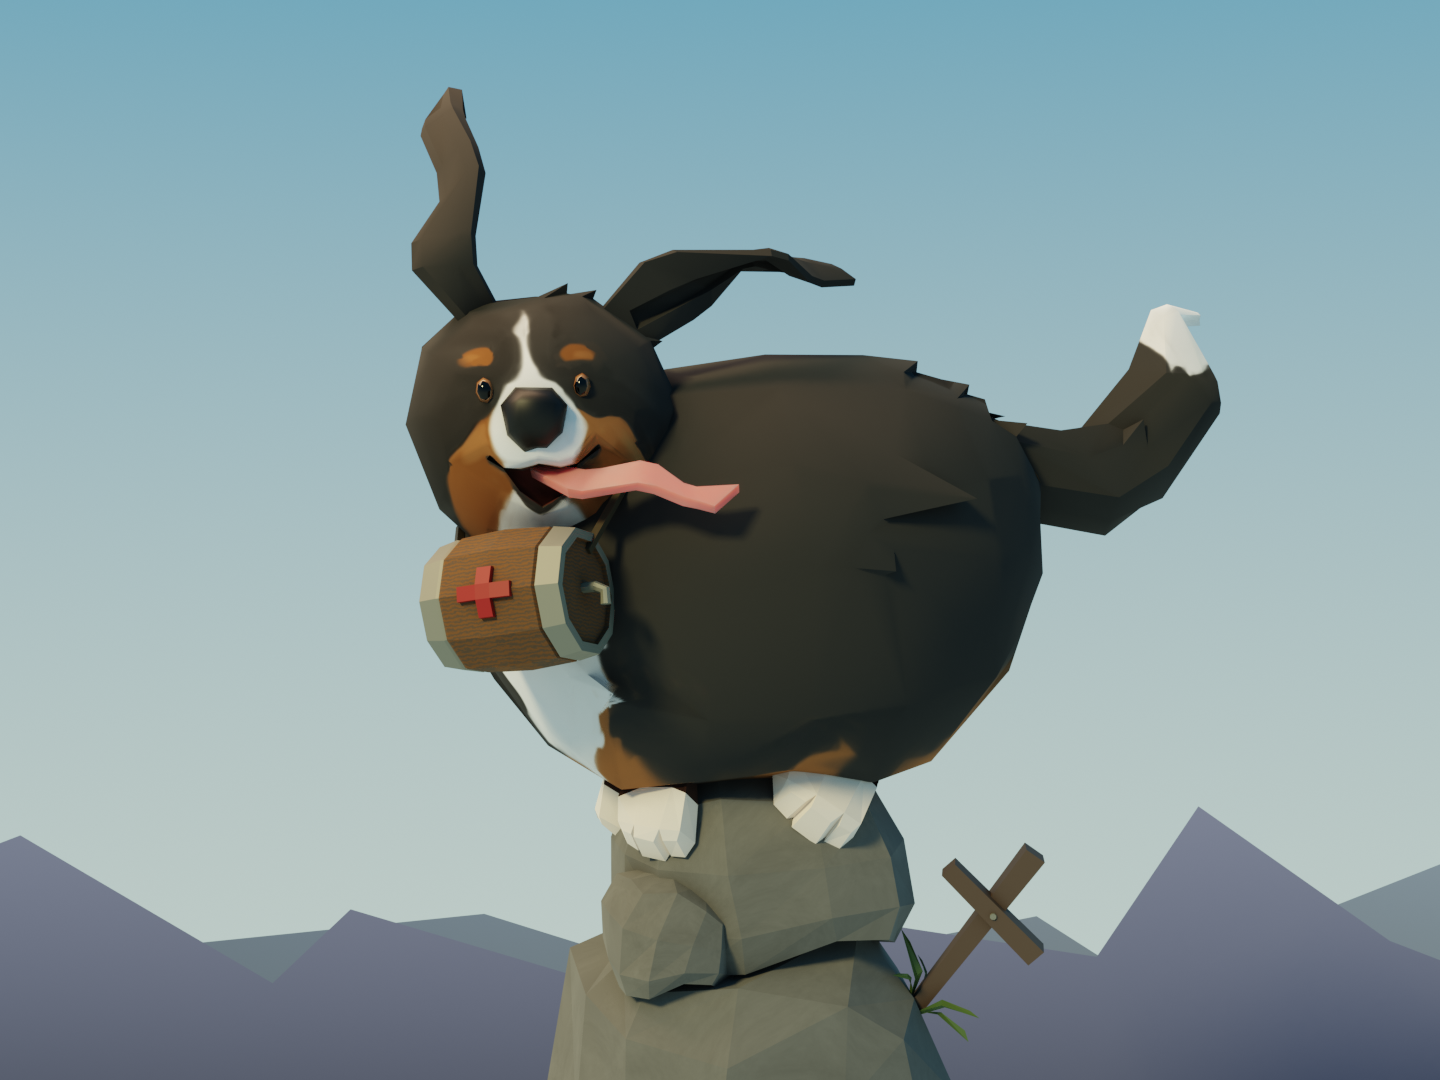
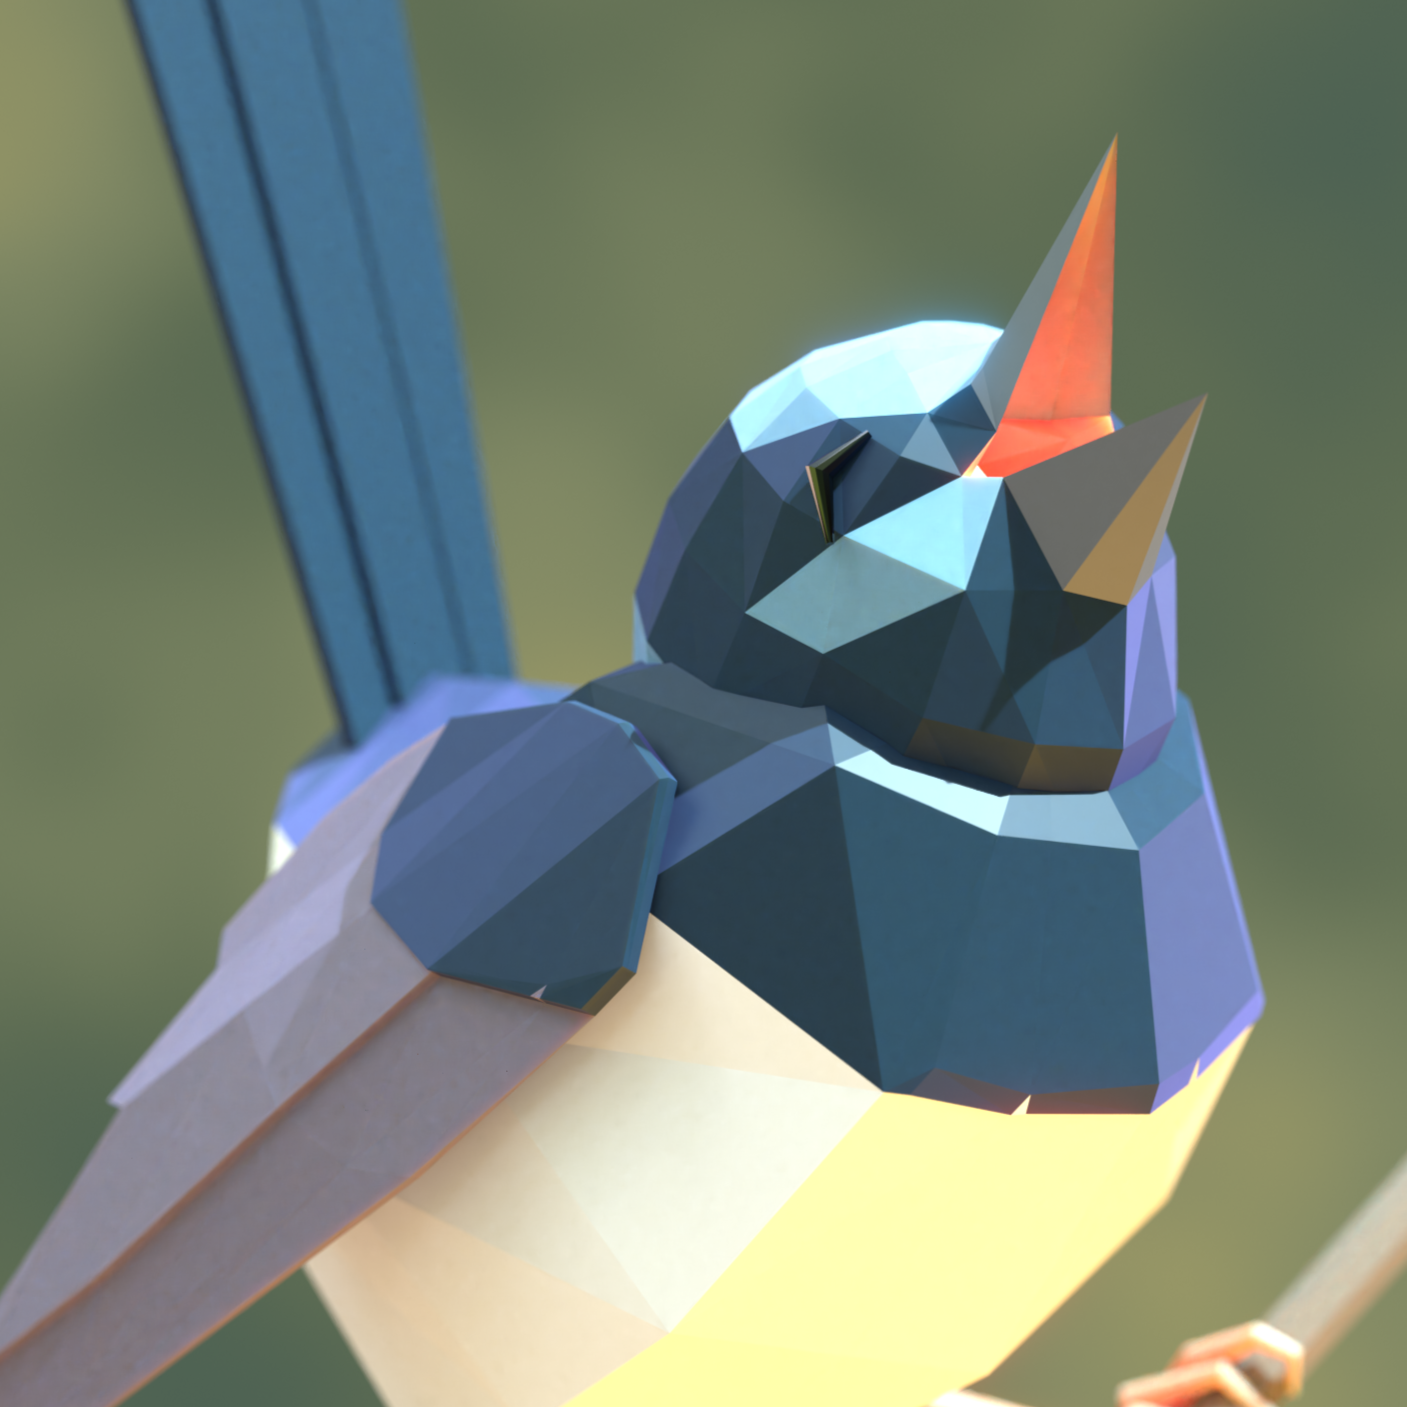
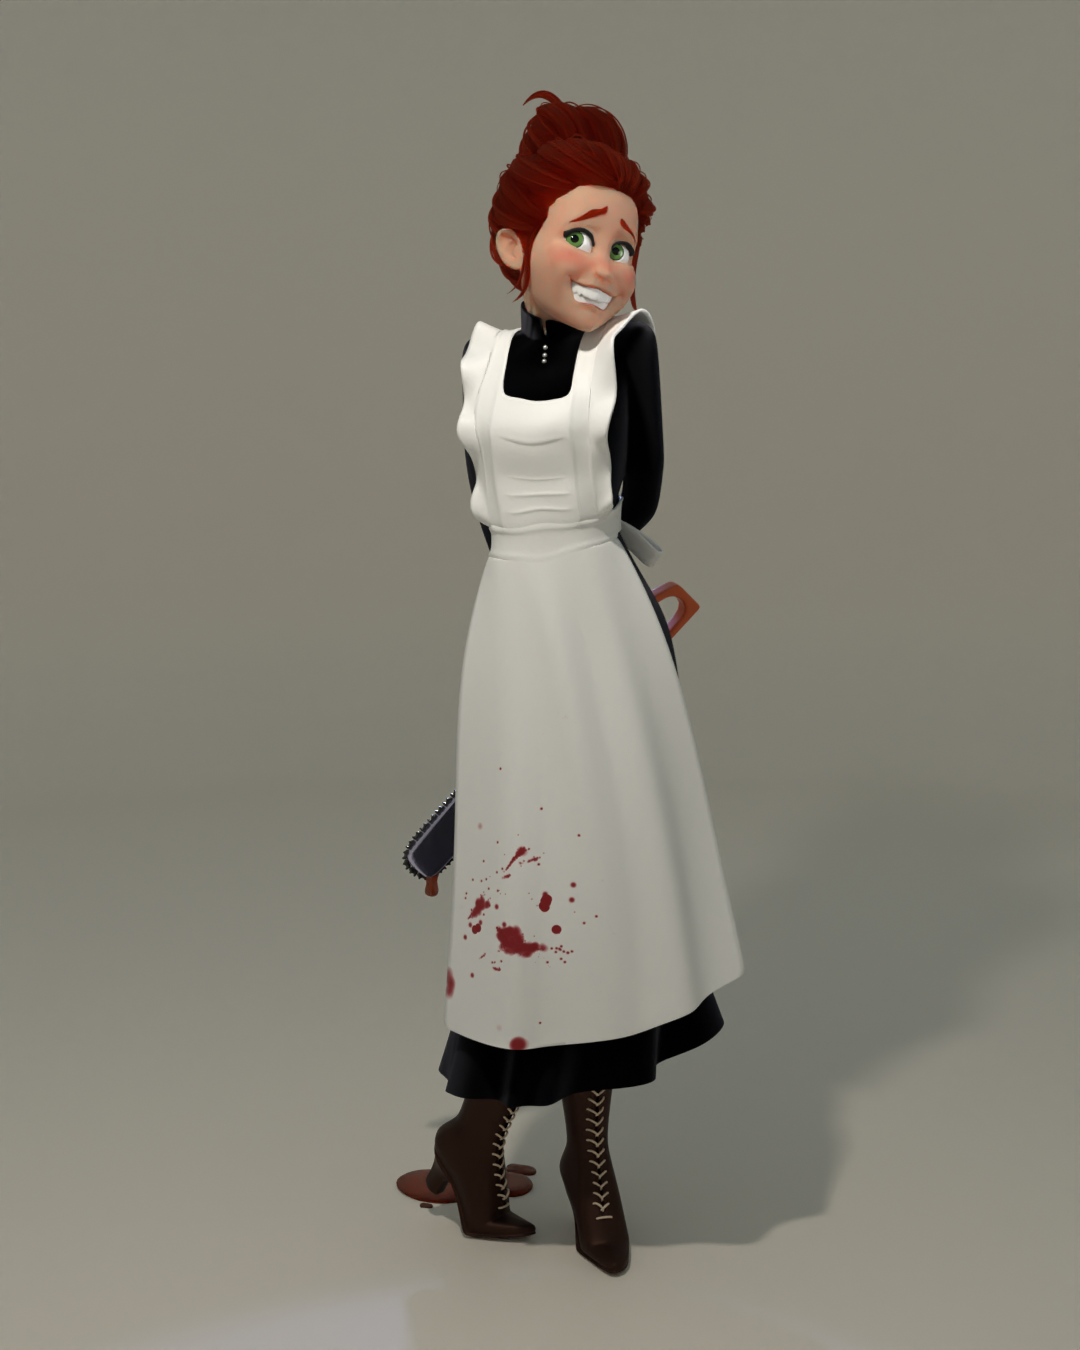
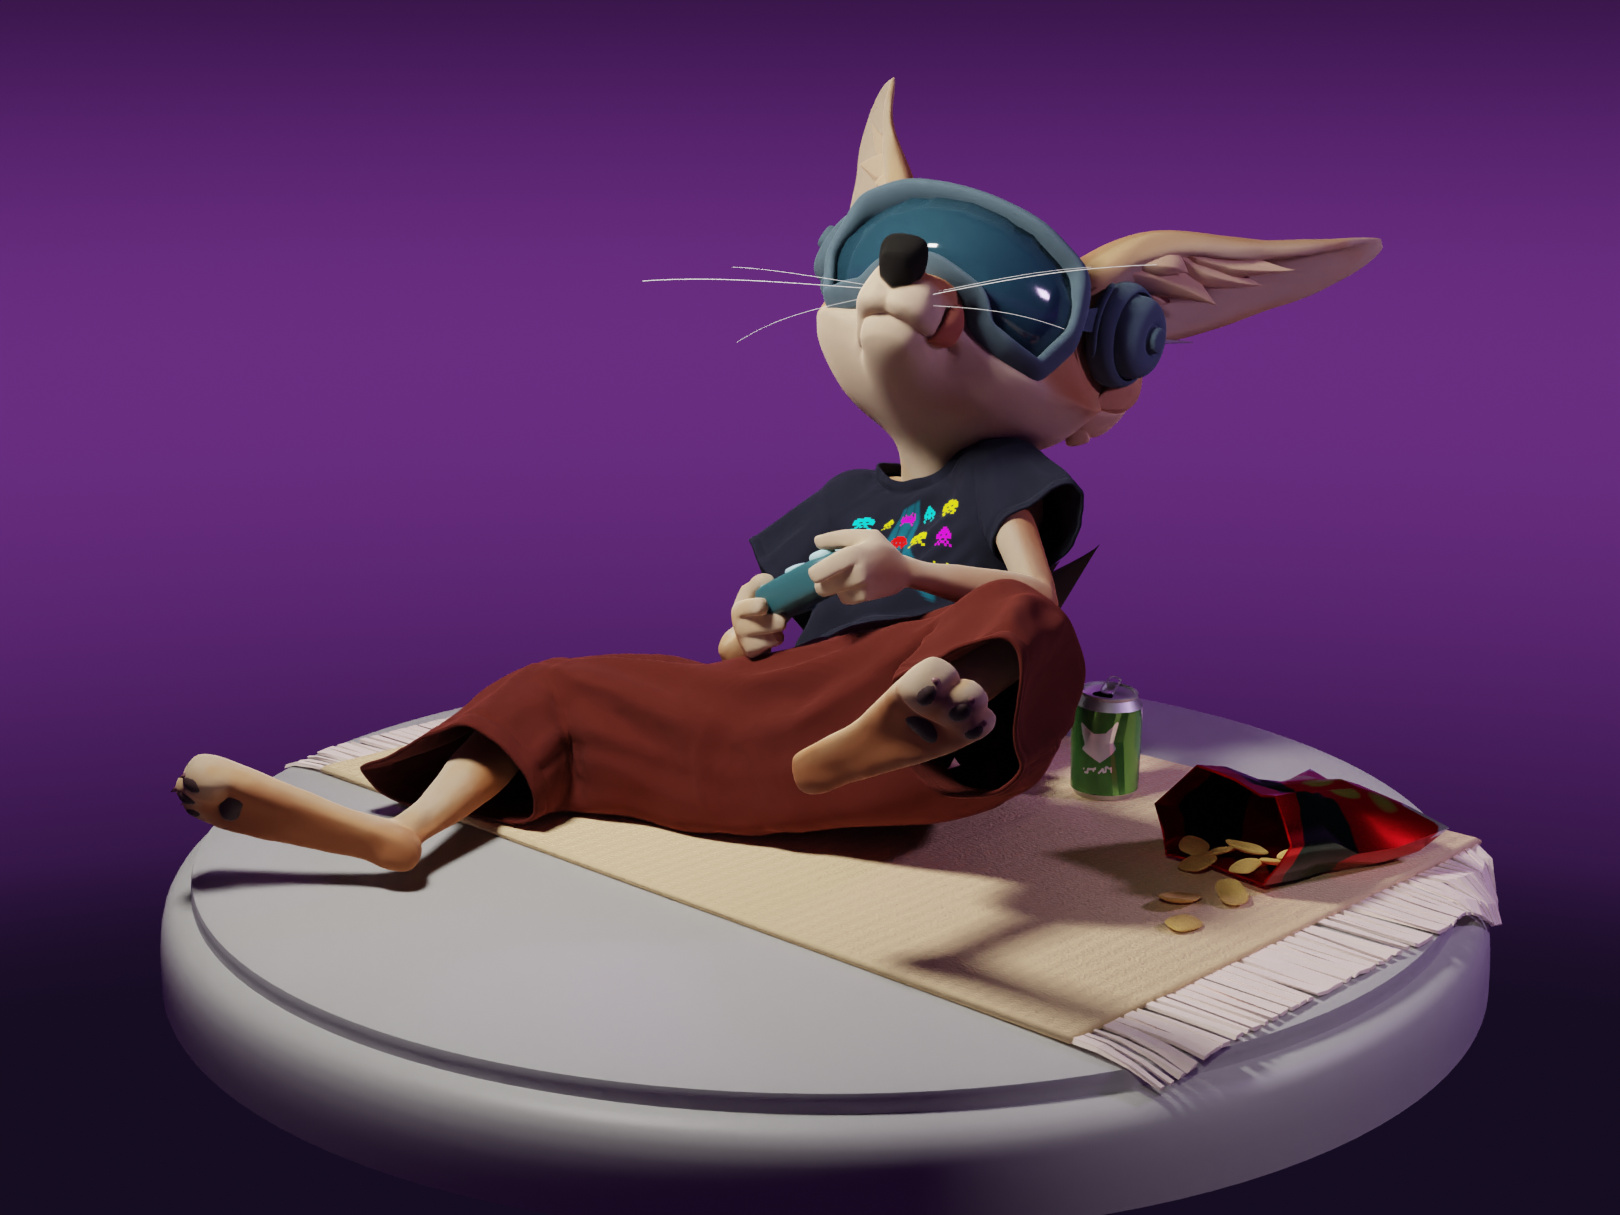
3D Art
Apart from making my own game assets, I simply enjoy modeling and sculpting in Blender, primarily being interested in character designs. Most of my models are fairly low poly – I love the aesthetic, and the challenge of making every edge count. Here are a few of my favorite renders (click on title for details and turnarounds).
-
He’s one with the forest.
-
King of the hill!
-
Spring is here!
-
A sweet young lady, with a slightly flawed character.
-
My mascot!
-
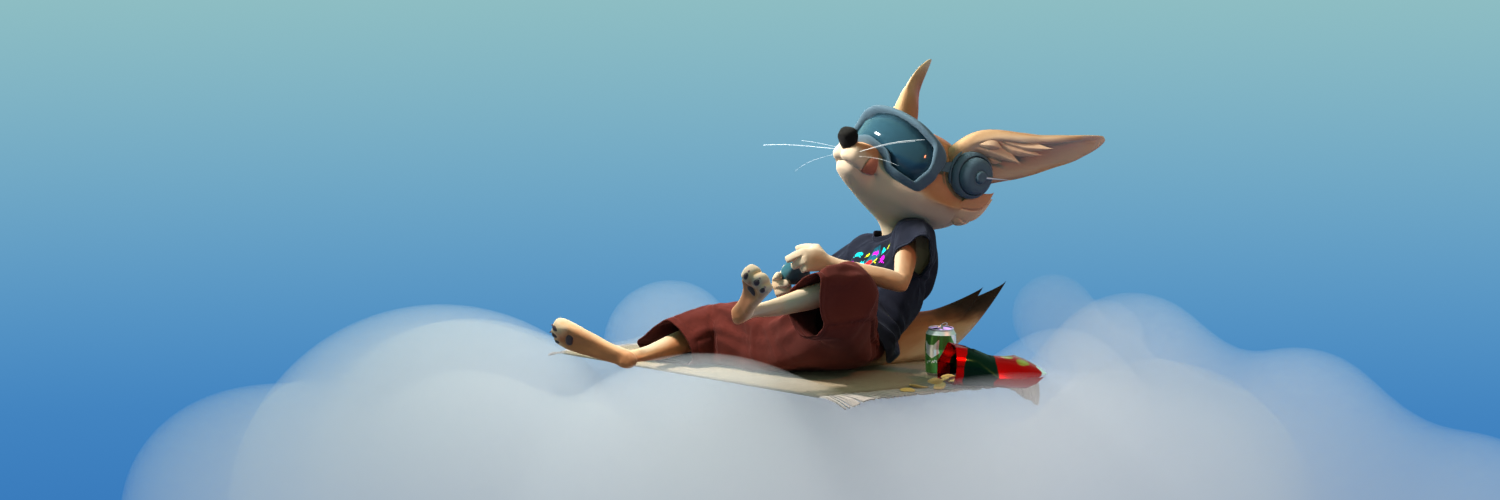
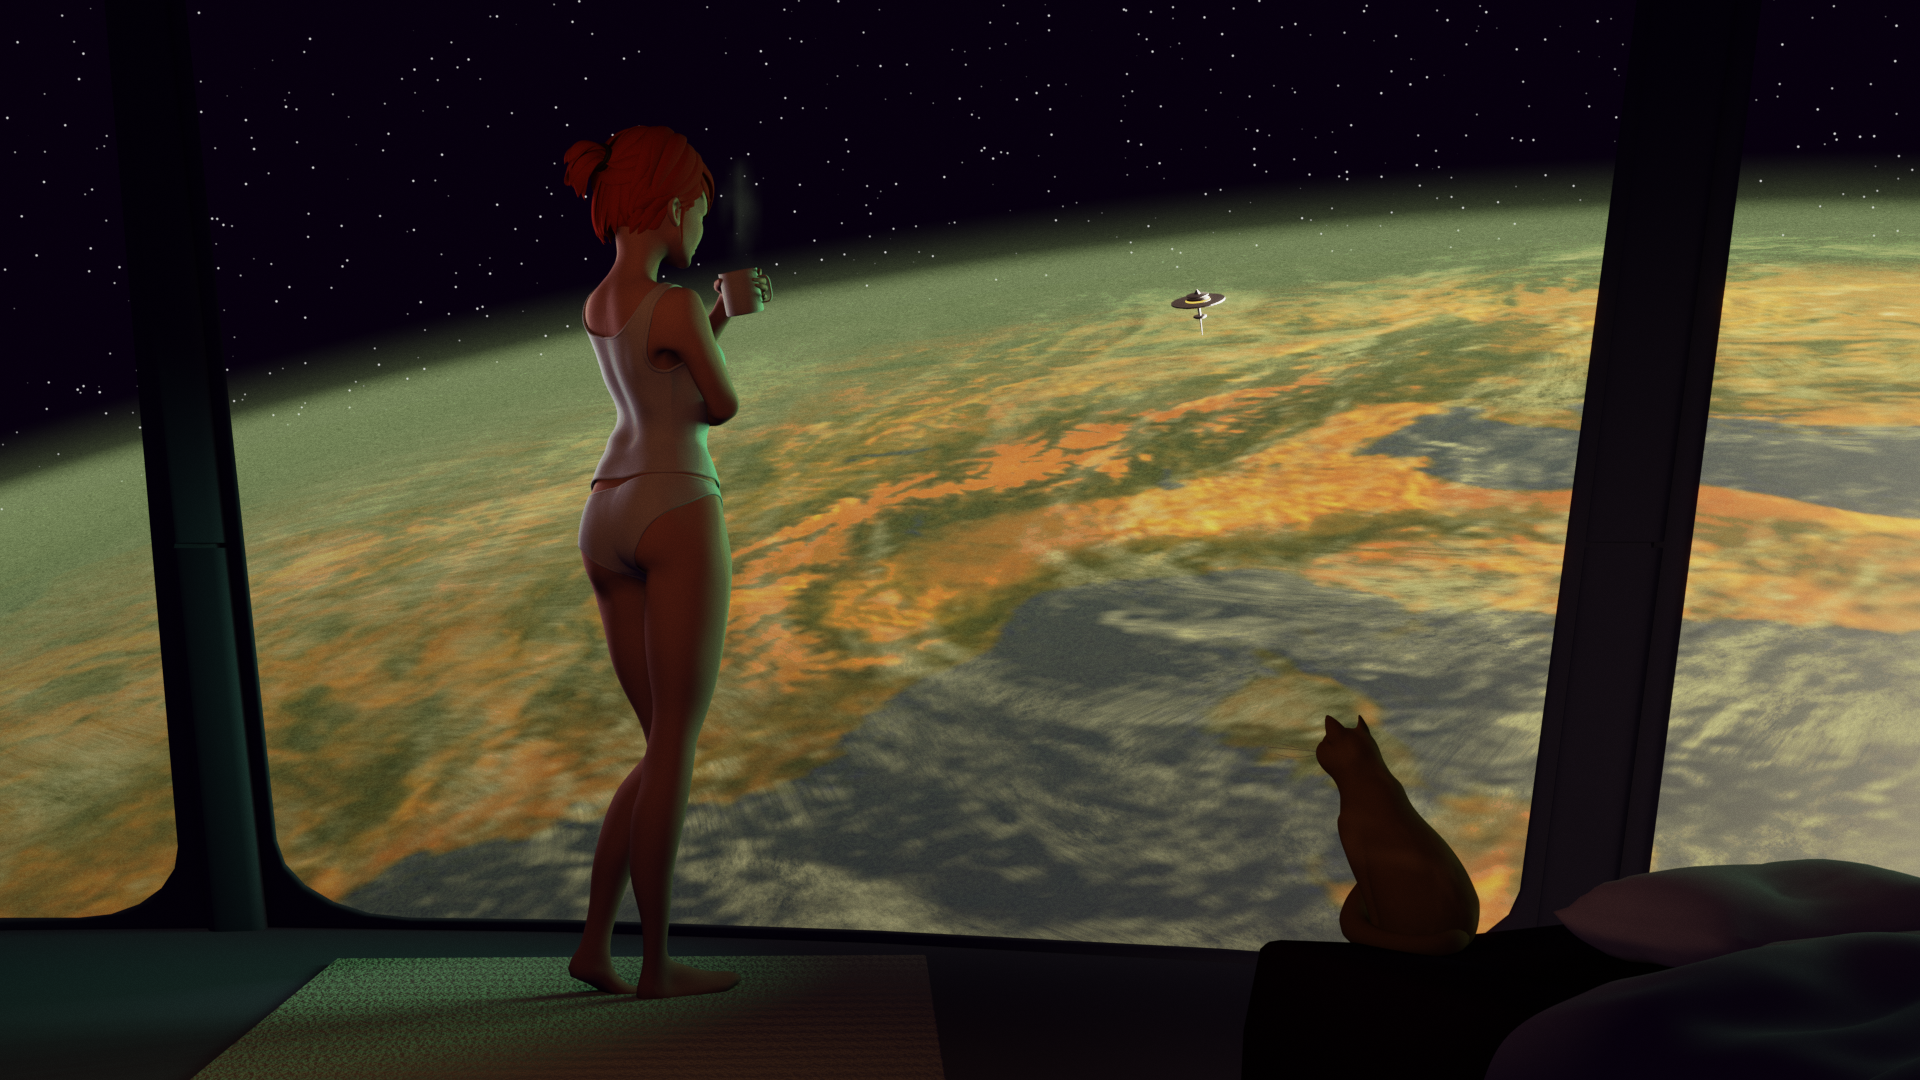
Shelter, high above uninhabitable Earth – classic dystopia.
Get in touch
I’m always interested to learn about exciting new projects!
If you like what you see here: