
Kolja
-
Clara & Pong
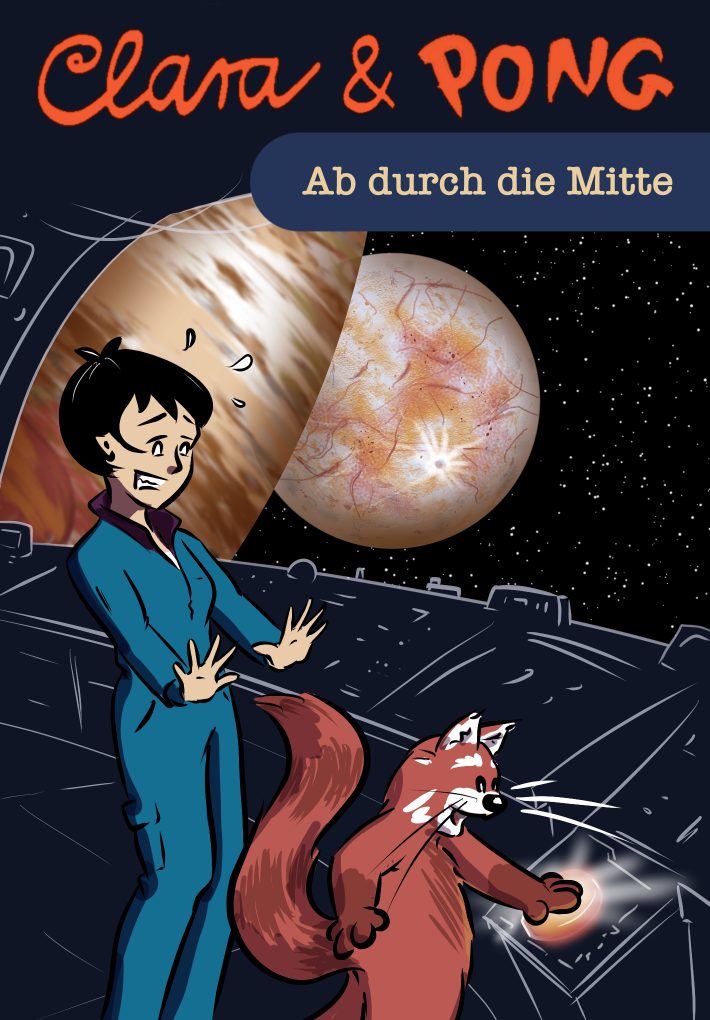
In 2016, I started my own web comic revolving around a girl named Clara and her best friend Pong, a red panda. These were just short weekly strips, which I initially inked by hand, scanned in, and colored digitally. Here’s one of the first episodes, where Pong receives his name: After about a year, it was time to start a bigger story about my two heroes! I didn’t realize how…
-
Urban sketching
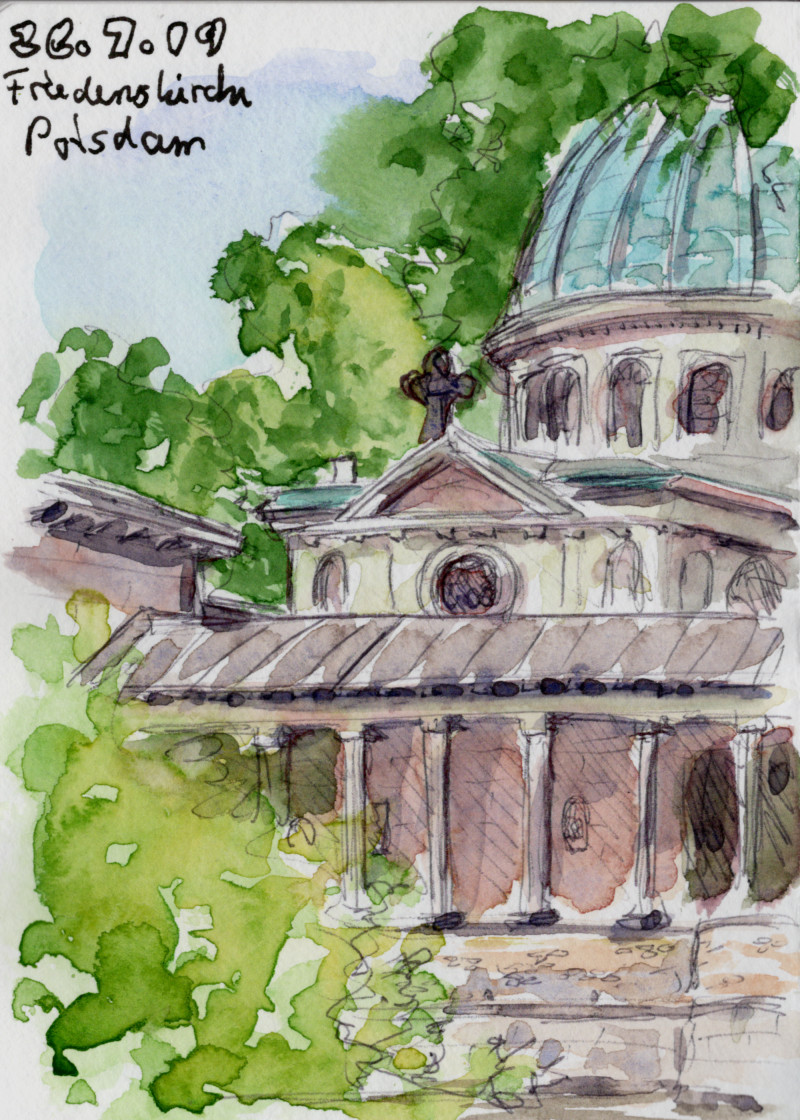
My main day-to-day sketching activity, in a watercolor sketchbook. I mainly use a small watercolor kit, a fountain pen, and/or a ballpen. #foogallery-gallery-199.fg-masonry .fg-item { width: 150px; margin-right: 10px; margin-bottom: 10px; } For a 100-day project, I varied my urban sketching a bit: The task was to add some fictional element to whatever I found in the city. These are a few of my favorite sketches. They have all been…
-
Characters and portraits
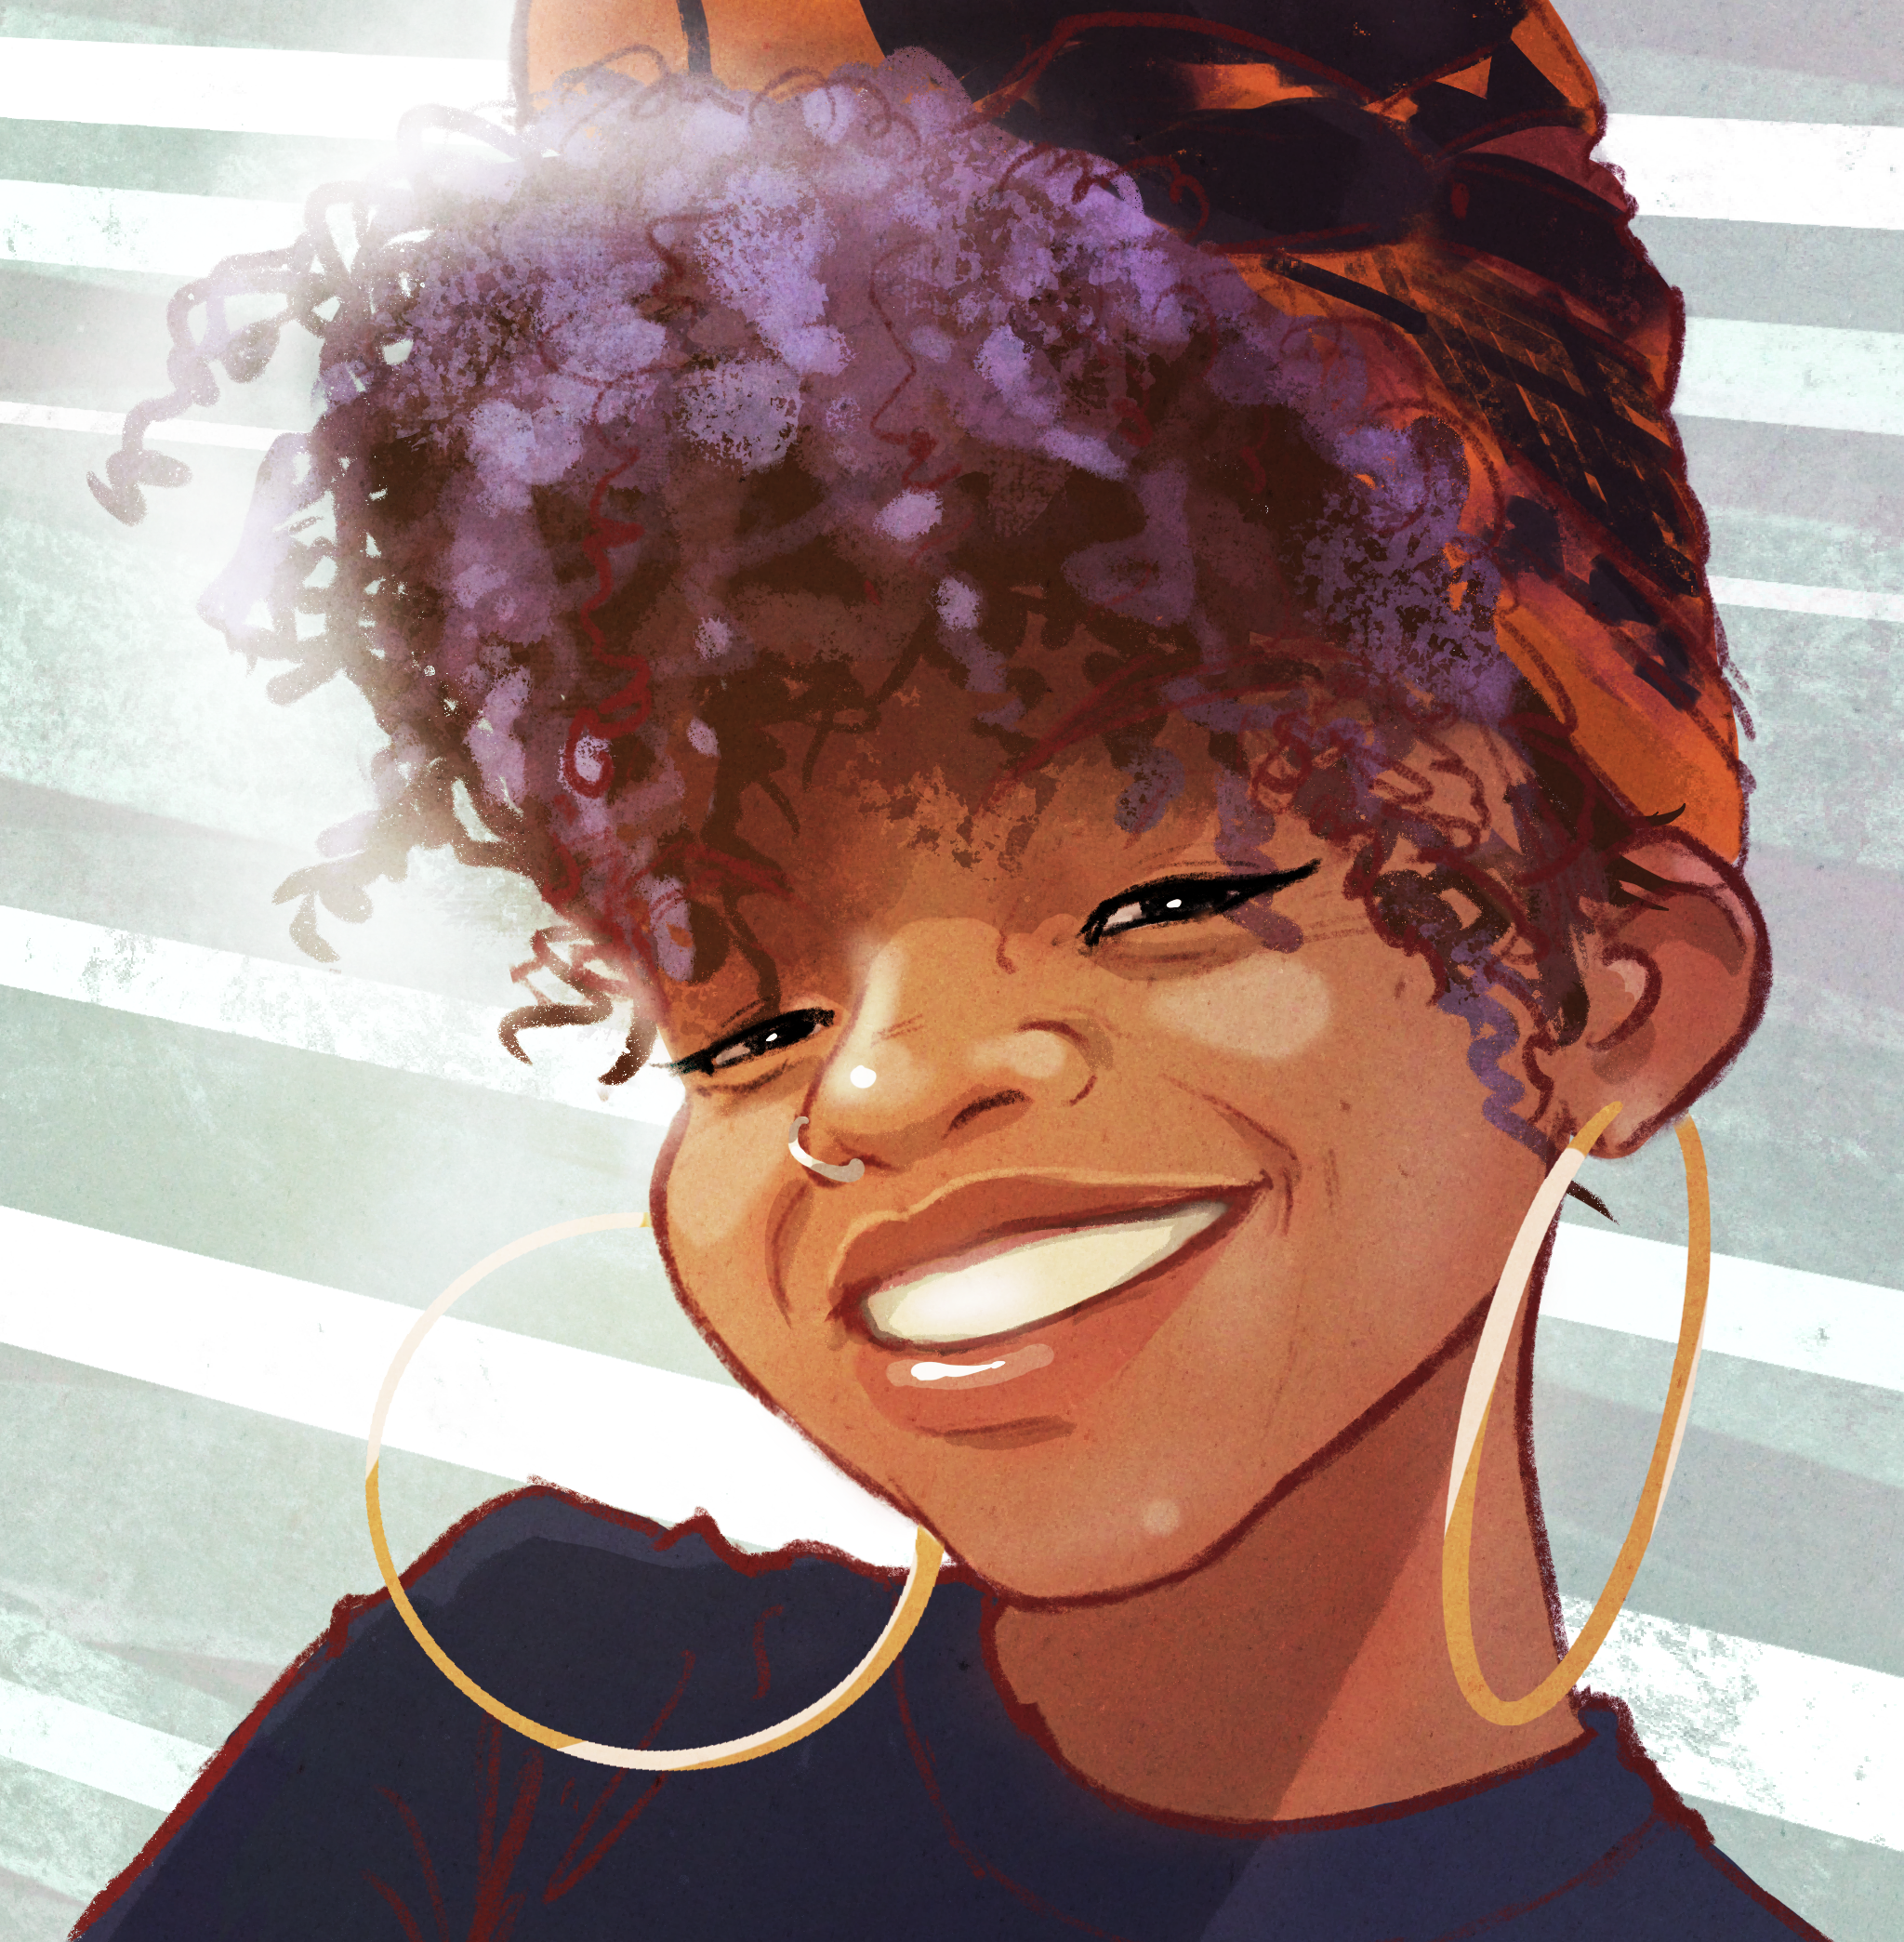
Various character sketches, mostly digital; I do enjoy 3D and drawing traditionally, too! #foogallery-gallery-206.fg-masonry .fg-item { width: 150px; margin-right: 10px; margin-bottom: 10px; } Blood donations gladly accepted! Poster designGiselle the Au-Pair (sticker design created from 3D render)Flamingo morningSticker collection from creature scribblesFirst contactHappy old dogOdd coupleSky’s the limit!Lady S. – she is pulling the strings here.Inspector Toad cross-examining YOU!Old GeorgePlague doctorCockatoos are wise and pretty smug about itViking enjoying a…
-
Inktober
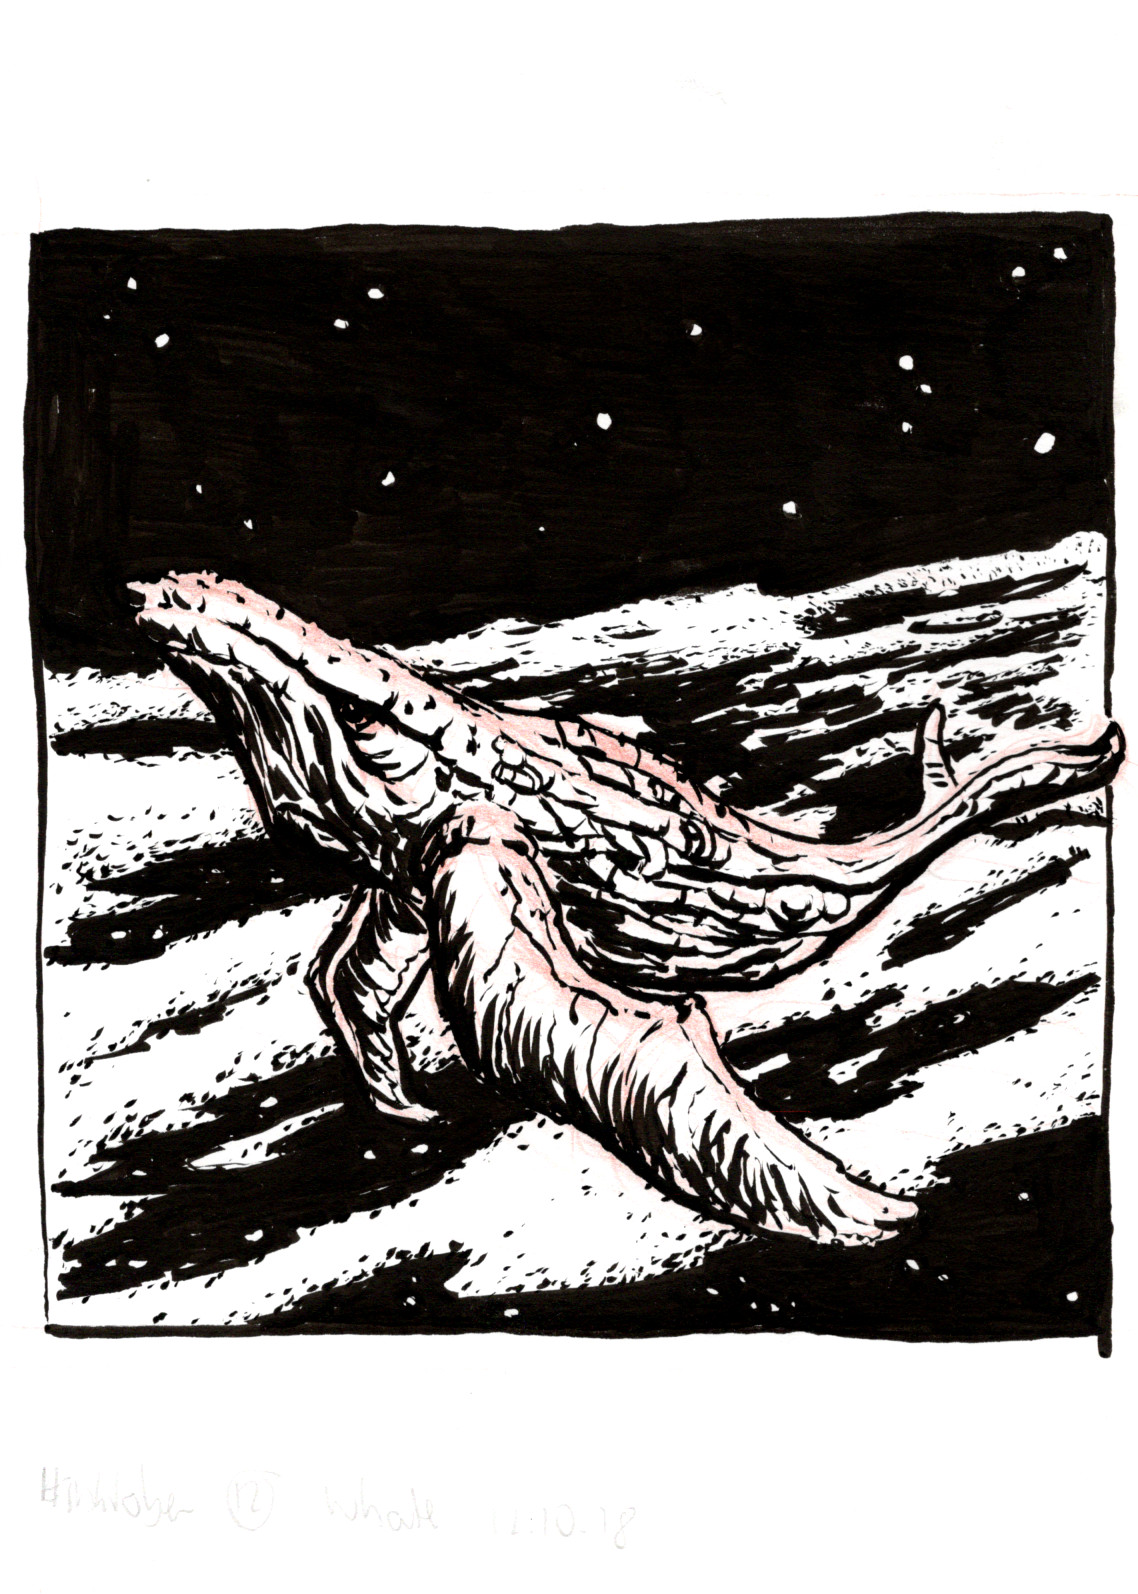
For the Inktober challenge, the task is to produce one ink drawing on every day of October. I usually follow the official prompts, and set myself a subject matter for the month. In 2018, I created a small sci-fi story setting for each prompt – here are my favorites: #foogallery-gallery-196.fg-masonry .fg-item { width: 150px; margin-right: 10px; margin-bottom: 10px; } Day 12: “whale”Day 22: “expensive”Day 9: “precious”Day 19: “scorched”Day 8: “star”Day…
-
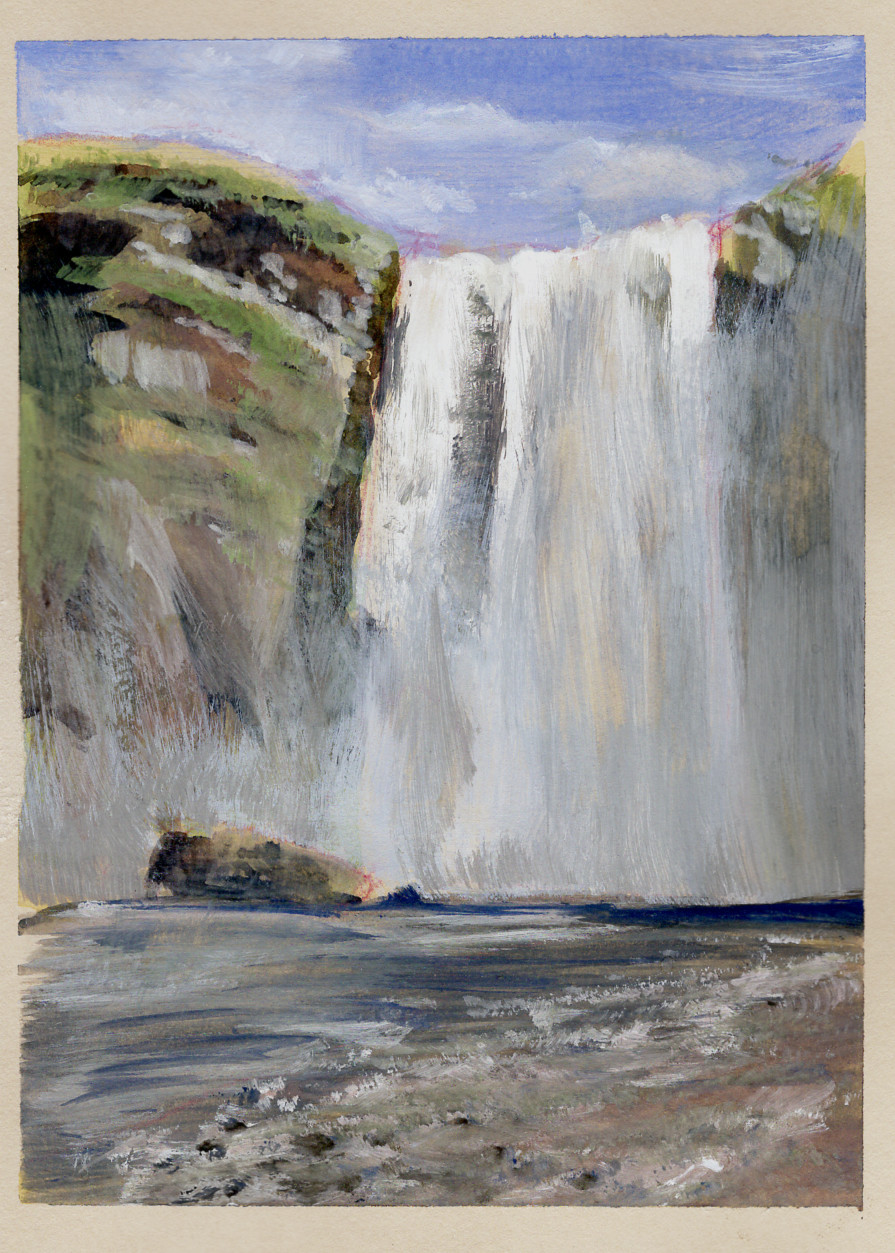
Landscape sketching
Every once in a while, I’ll try my luck with landscape sketches in gouache. I like gouache because it allows painting opaquely, and together with my small watercolor kit, it’s still convenient enough to carry around. #foogallery-gallery-204.fg-masonry .fg-item { width: 150px; margin-right: 10px; margin-bottom: 10px; }
-
Pocket Observatory at Make Munich
Pocket Observatory at Make Munich! Slipped in at the very last minute, and probably had the tiniest desk in the hall. But the response was great, I am still totally overwhelmed by the positive response and all the enthusiasm. A huge THANK YOU to everyone who came over to check out the app on Gear VR! Nice people, great conversations, useful feedback, and even more ideas for future development. After…
-
Pocket Observatory released for Gear VR
On 3/16, Pocket Observatory has been released to the Oculus App Store for Gear VR! It has taken a lot longer than expected, but in the end, the additional iterations and feedback have improved the product tremendously. Of course, this is only version 1 – there are tons of additions on my list already, and I am open to suggestions 🙂 Here’s a link to the product page in the…
-
Venturing into social VR with Pocket Observatory!
The past few weeks I’ve been working away on a really exciting feature for the upcoming Gear VR version of Pocket Observatory: You will be able to invite a friend (on the Oculus platform) and start a voice chat beneath the stars! GPS coordinates are exchanged between the app instances, so players can visit each other’s GPS locations. This is currently under review, and will hopefully be up in a…
-
Educational VR molecules
Now that I’ve gained some experience with Virtual Reality and my astronomy app, I’m thinking educational software for VR could be a worthwhile field for future projects. So I’ve started tossing ideas about, one of which involves playing with molecules in a VR environment. Aspirin molecule
-
p5.js Animated Grid
So here’s a simple processing demo I did a while ago, ported to p5.js, a library allowing you to essentially write processing in JavaScript, using an HTML canvas! As you will see when running the demo, JavaScript performance is not really where you’d like it to be when doing animation 🙂 The JavaScript engine of your browser makes a huge difference here. I recommend running this in Chrome, it’s quite…